If you’re new to tatting, this easy bookmark pattern is the perfect place to start. With simple stitches and a relaxing rhythm, you’ll create a delicate lace bookmark that’s both beautiful and practical. Whether you’re making it for yourself or as a thoughtful handmade gift, this beginner-friendly project comes together quickly and helps you build confidence with basic tatting techniques.
Whether you’re enjoying a quiet afternoon craft or looking for a thoughtful handmade present, this beginner-friendly tatted bookmark is a wonderful choice.
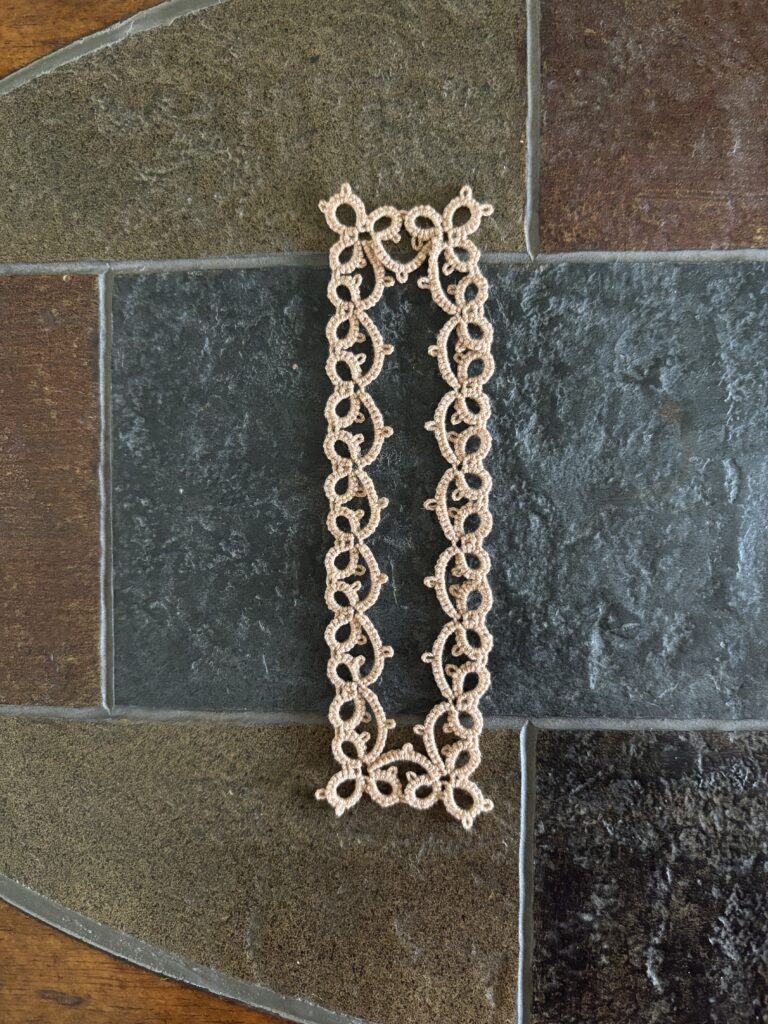
I’ve also included a downloadable tatting diagram to make this pattern even easier to follow. If you’re a visual learner, the diagram is a great way to see how each ring and chain connects, helping you stay on track as you work. You can print it out or keep it handy on your device while you tat, making it simple to follow along at your own pace.
Why You’ll Love This Pattern
This pattern is designed with beginners in mind. It uses basic stitches and simple repeats, making it easy to follow even if you’ve just learned how to tat. Plus, it works up quickly, so you can finish it in one sitting.
- Great for beginners
- Uses basic rings and chains
- Quick and relaxing project
- Perfect handmade gift idea for readers and book lovers.
Supplies You’ll Need
To make this easy tatted bookmark, you’ll only need a few basic supplies:
- Tatting shuttle or needle
- Size 10 crochet thread
- Small scissors
And here is the Tatting diagram if you prefer that to the written pattern.
Tatting key
- ds = double stitches
- Ch = chain
- R = ring
- (-) = picot
- (+) = join
Go!
R: 4ds – 4ds – 6ds – 2ds close.
R: 2ds + 6ds – 4ds – 6ds – 2ds close.
R: 2ds + 6ds – 4ds – 4ds close, flip your work over.
Ch: 7ds – 7ds, flip.
*R: 4ds – 4ds + 6ds -2ds close.
R: 2ds + 6ds – 4ds – 4ds close, turn your work over.
Ch: 7ds – 7ds, turn.
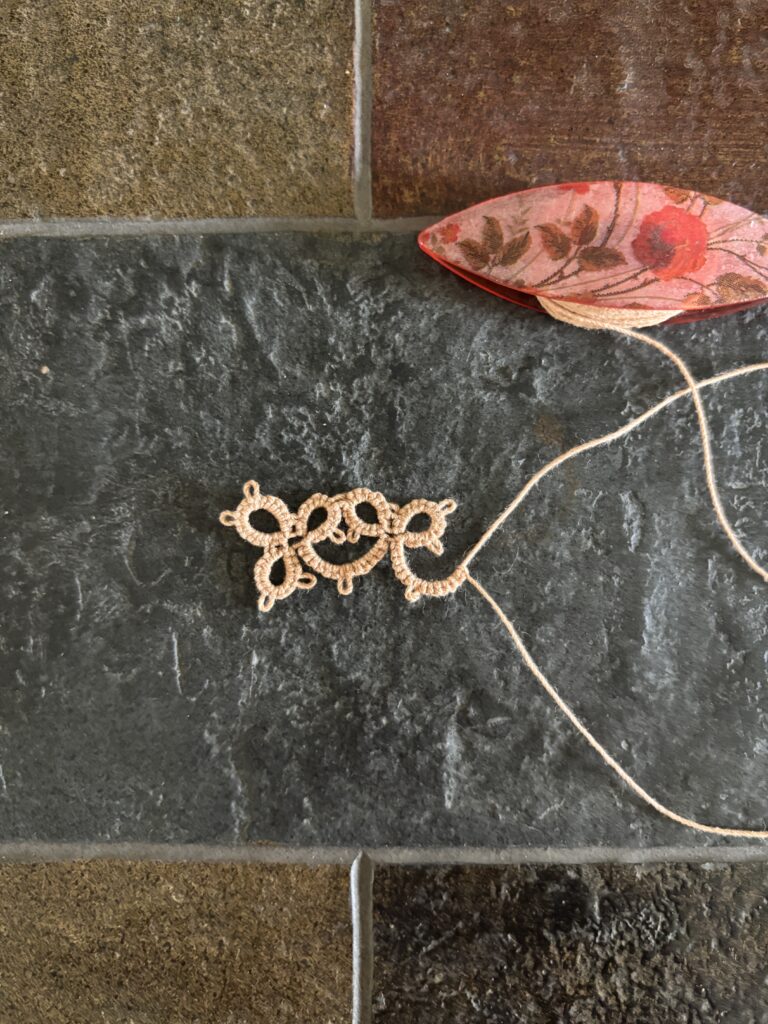
Repeat from * 5 more times.
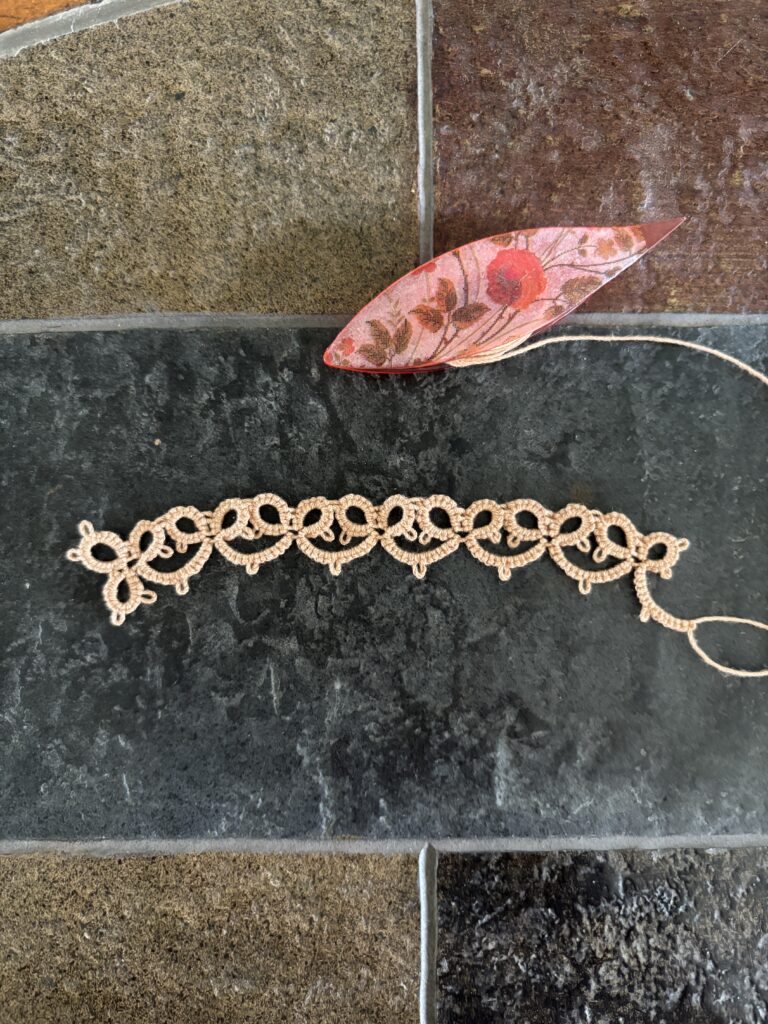
R: 4ds – 4ds + 6ds – 2ds close.
R: 2ds + 6ds – 4ds – 6ds – 2ds close.
R: 2ds + 6ds – 4ds – 4ds close, flip your work over.
Ch: 7ds – 7ds, flip.
R: 4ds – 4ds + 6ds – 2ds close.
R: 2ds + 6ds – 4ds – 6ds – 2ds close.
R: 2ds + 6ds – 4ds – 4ds close, flip your work over.
Ch: 7ds – 7ds, flip.
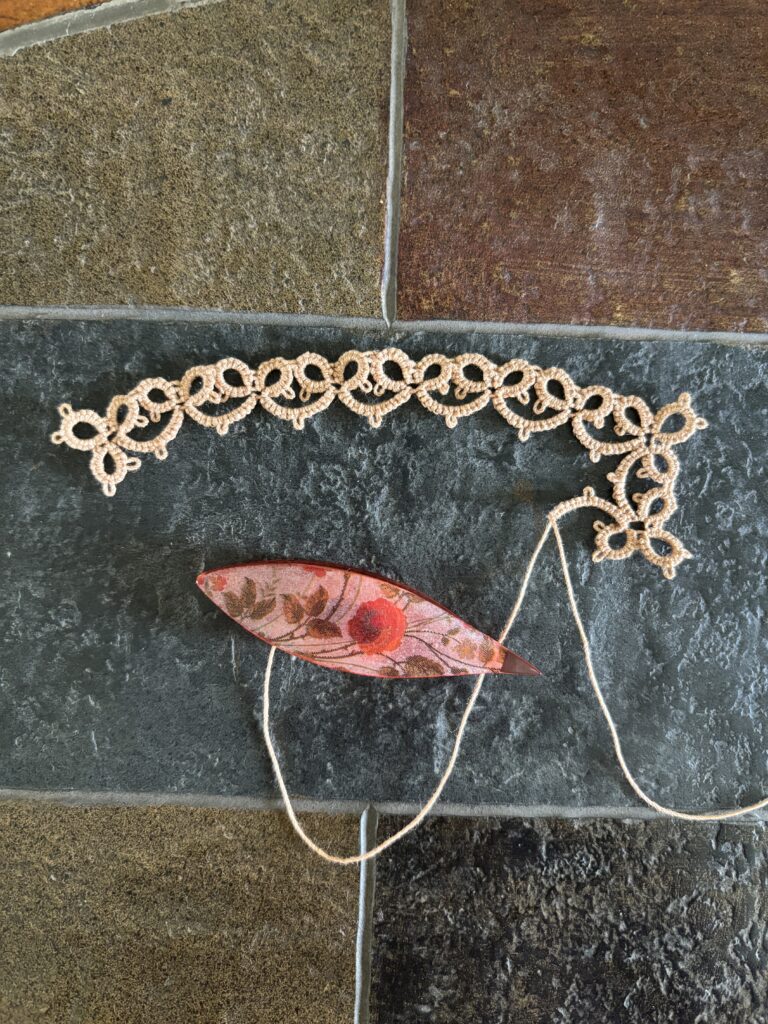
** R: 4ds – 4ds + 6ds – 2ds close.
R: 2ds + 6ds – 4ds – 4ds close, turn.
Ch: 7ds – 7ds, turn.
Repeat from ** 5 more times.
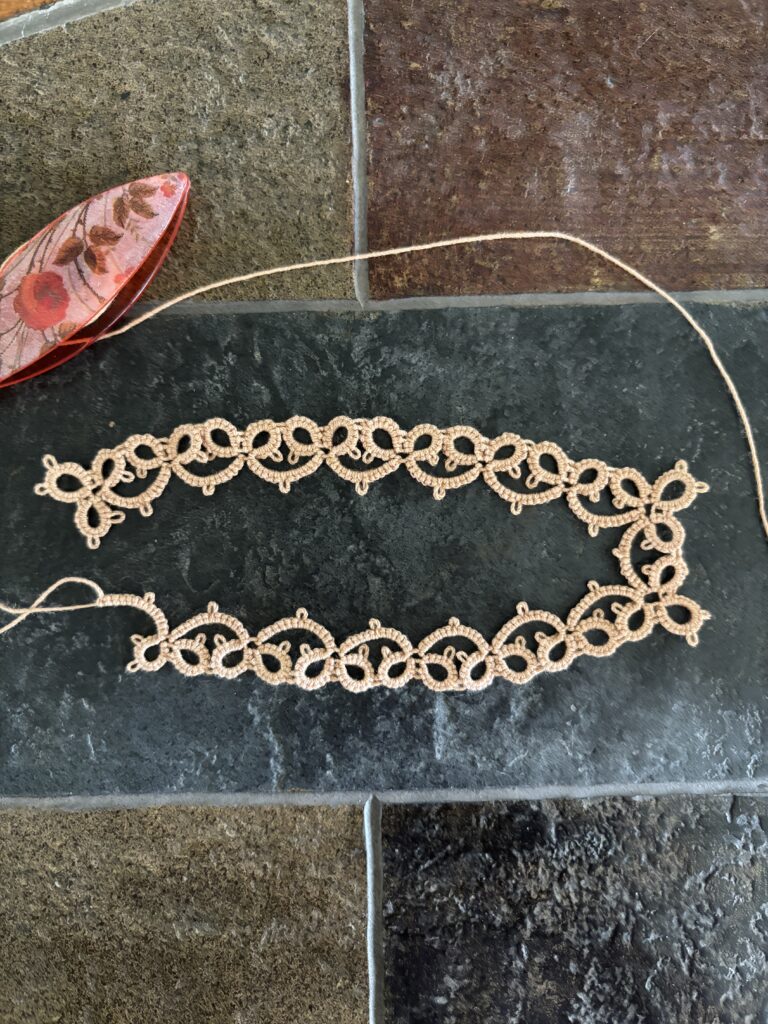
R: 4ds – 4ds + 6ds – 2ds close.
R: 2ds + 6ds – 4ds – 6ds – 2ds close.
R: 2ds + 6ds join to the first ring you made, 4ds – 4ds close.
Ch: 7ds – 7ds, join to the first group of rings. Cut and tie off the ends and weave them in.
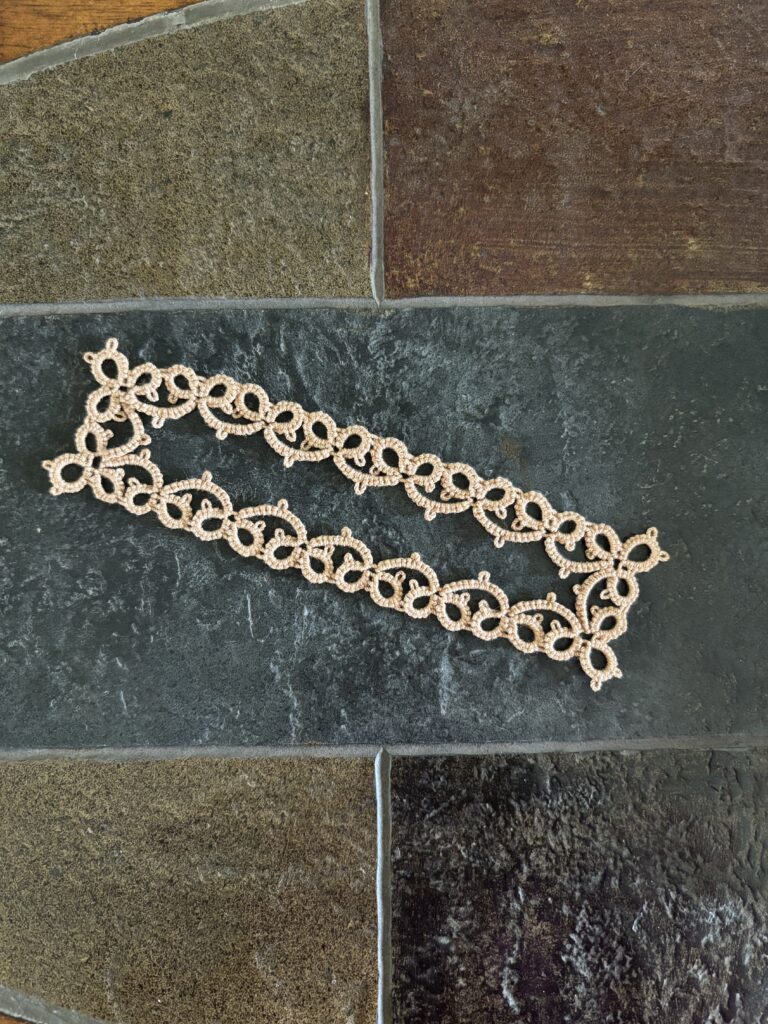
Now, you’ll probably need to block the bookmark to get the shape right and to make it lay flat. I like to block my projects by spraying them with water and stretching them out to lay flat.
This easy tatted bookmark is a great way to build your skills while creating something beautiful and useful. Once you’ve mastered this pattern, you can experiment with different thread sizes, colors, and embellishments to make it your own.
Happy tatting!
Check out some of my other free tatting patterns.
- Easy Lace Bracelet Tatting Pattern
- Free and Easy Sunflower Tatting Pattern.
- Free Sunny Sunflower Tatting Pattern.
- Free Four Leaf Clover Tatting Pattern.
- Free and Easy Heart Tatting Pattern and Diagram.
- Beaded Necklace Pendant Tatting Pattern.
- Free Beaded Christmas Tree Tatting Pattern.
- Free Flower Bookmark Tatting Pattern and Tutorial.


