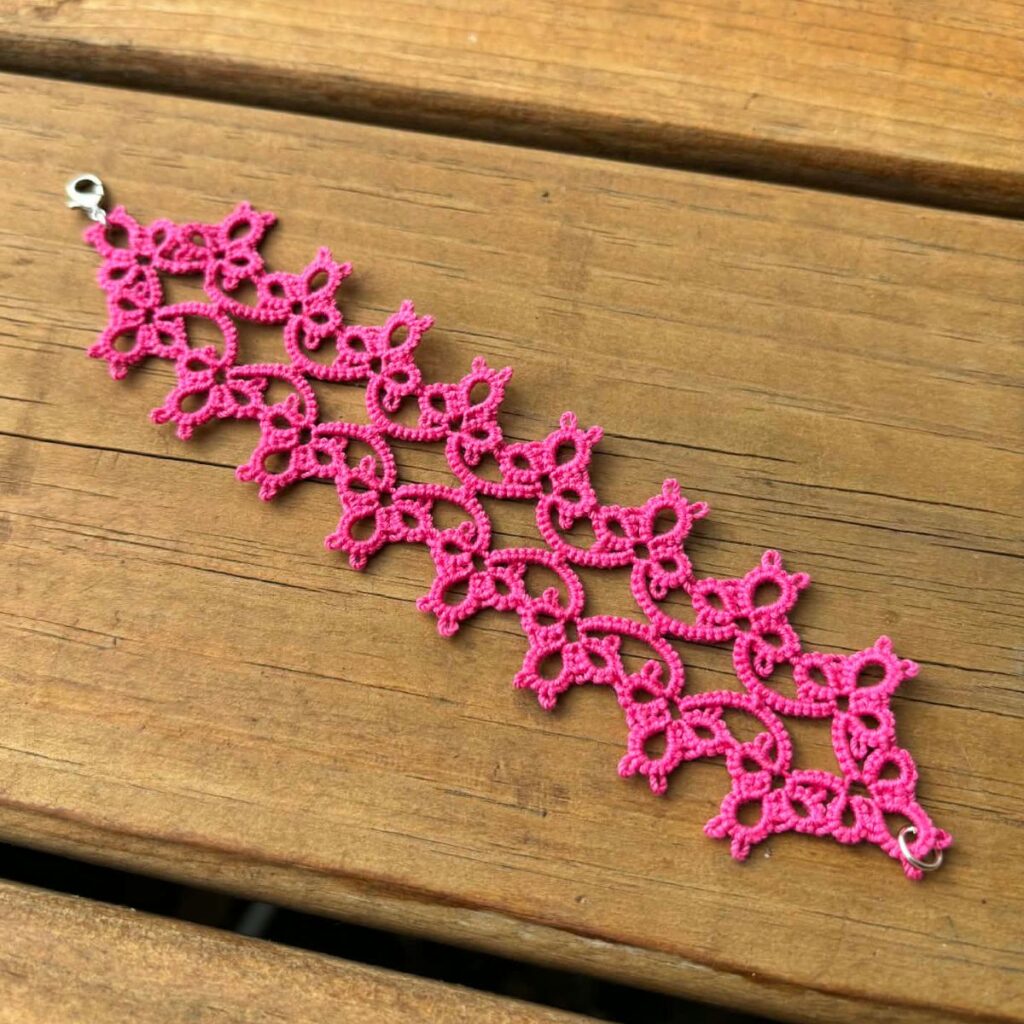
If you’re looking for a quick, elegant tatting project, this easy lace bracelet is perfect for beginners and relaxing enough for experienced tatters. Made with simple rings and chains, this delicate bracelet works up fast and makes a beautiful handmade accessory or thoughtful gift. Best of all, it’s easy to customize with beads, different thread colors, or adjustable closures.
Skill Level
Beginner
This pattern uses basic tatting techniques: rings, chains, picots, and joining. If you’re new to tatting, this is a great project to practice consistency and tension without feeling overwhelmed.
Optional Variations
- Beaded Version: Add a seed bead in the free picots.
- Wider Bracelet: Increase the number of double stitches in rings and chains.
- Color Change: Alternate thread colors every few motifs for a modern look.
Finished Size
Approximately 6½ inches long.
You can easily lengthen or shorten the bracelet by repeating or removing pattern segments.
Save on Pinterest for later Here.
Materials Needed
- Crochet thread size 10
- tatting shuttle or tatting needle
- Small scissors
- lobster clasp and jump rings (I used a 4mm jump ring to attach the lobster clasp and a 6mm on the other end)
- You can also purchase the ad-free PDF on my Etsy Shop Here.
Here is the tatting diagram.
Tatting key
- ds = double stitches
- Ch = chain
- R = ring
- (-) = picot
- (+) = join
Go!
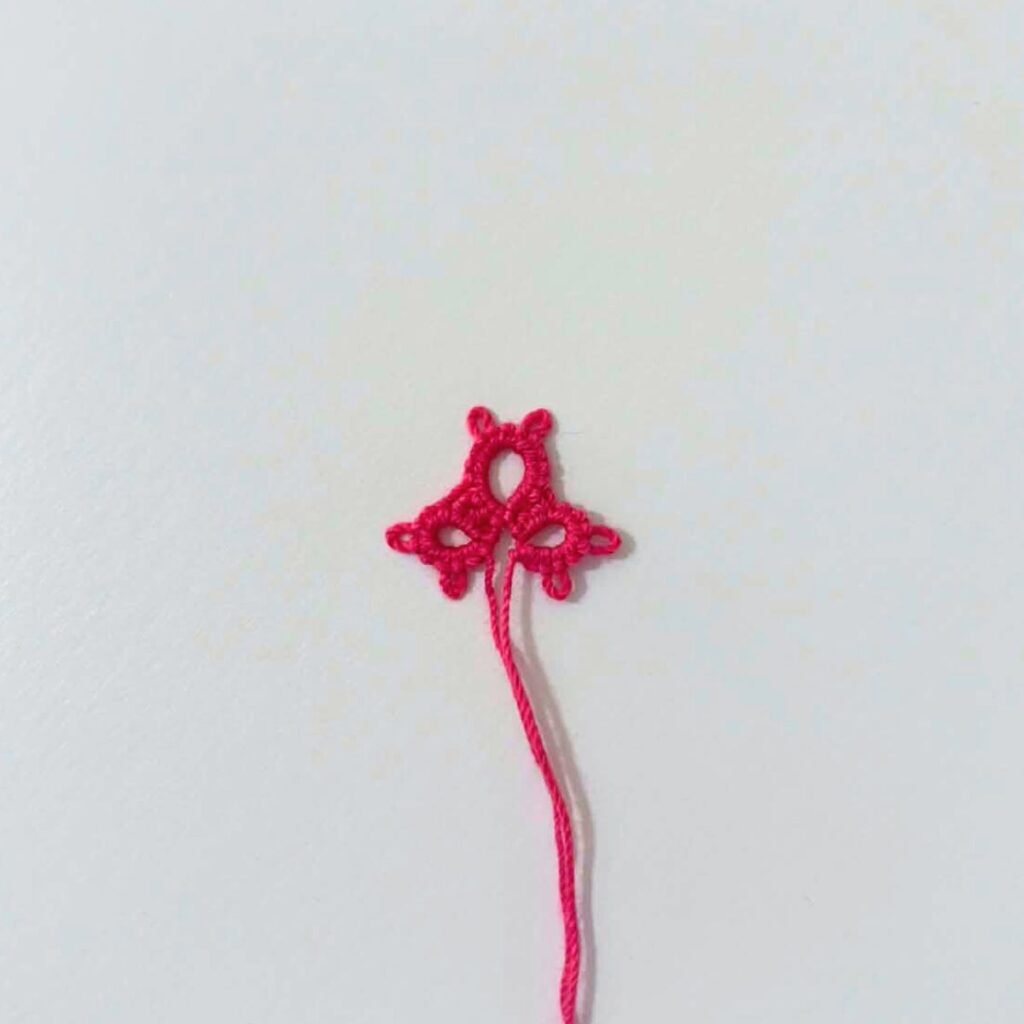
R: 3ds – 3ds – 3ds – 3ds close.
R: 3ds + 4ds – 3ds – 4ds – 3ds close.
R: 3ds + 3ds – 3ds – 3ds close, turn your work over.
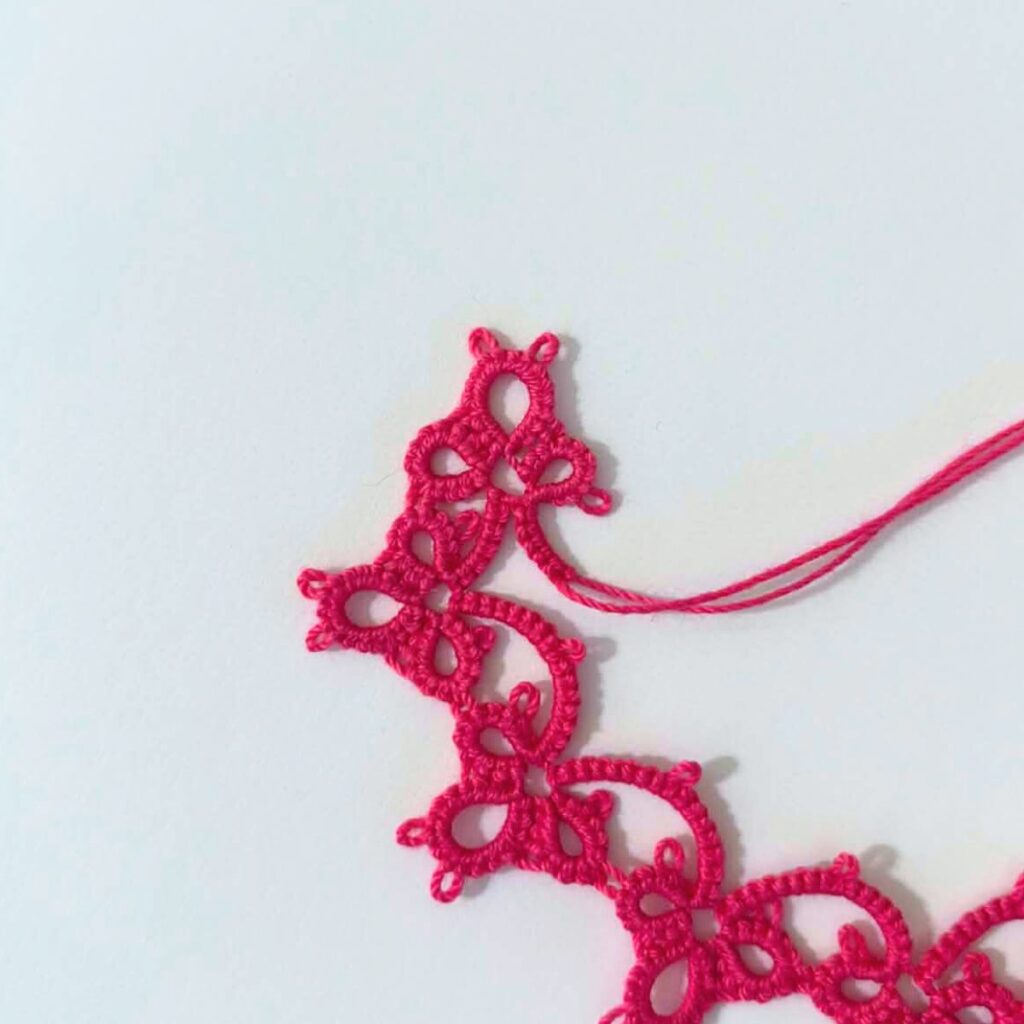
* Ch: 8ds – 8ds, turn.
R: 3ds – 3ds + 3ds – 3ds close.
R: 3ds + 4ds – 3ds – 4ds – 3ds close.
R: 3ds + 3ds – 3ds – 3ds close, turn your work over.

Repeat from * 6 more times.

Ch: 6ds, turn.
R: 4ds + 5ds – 3ds close.
R: 3ds + 4ds – 3ds – 4ds – 3ds close.
R: 3ds + 5ds – 4ds close, flip your work over.
Ch: 6ds, turn.
R: 3ds – 3ds + 3ds – 3ds close.
R: 3ds + 4ds – 3ds – 4ds – 3ds close.
R: 3ds + 3ds – 3ds – 3ds close, turn your work over.
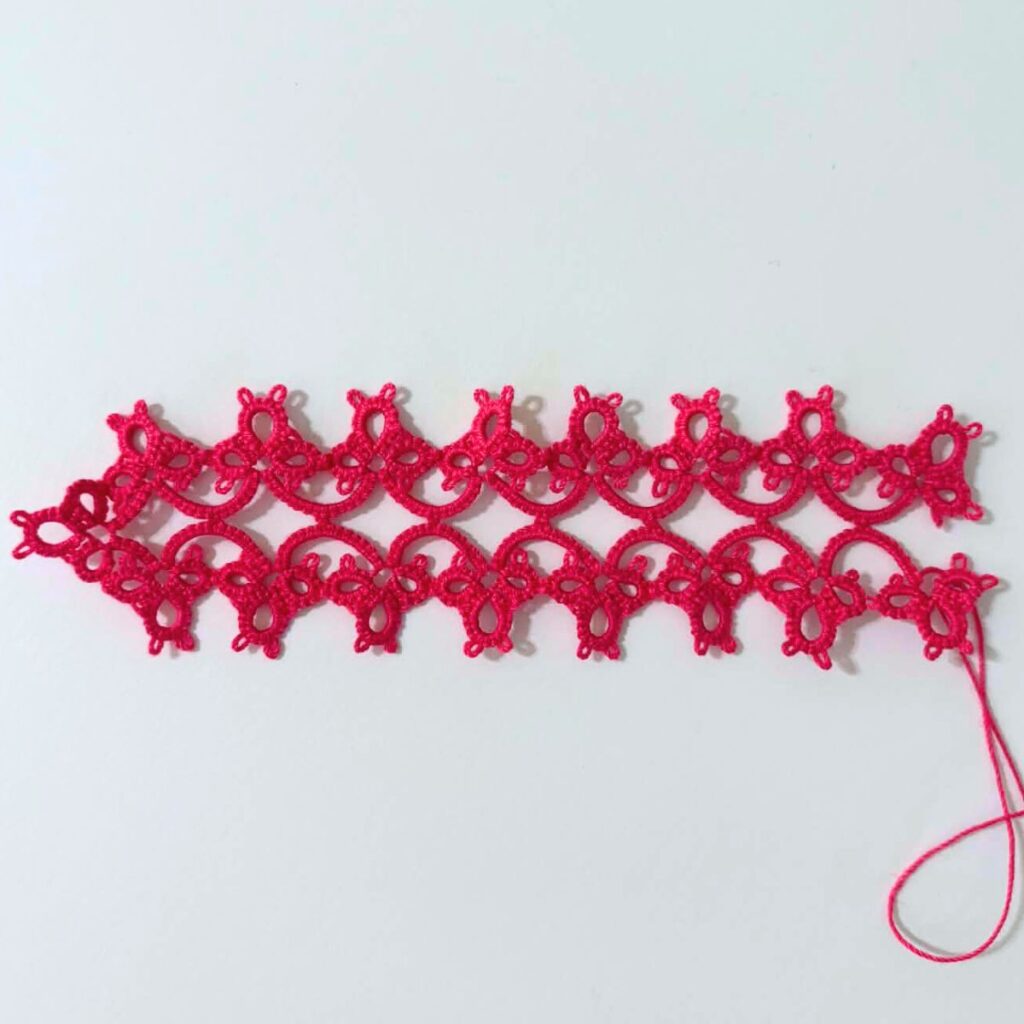
** Ch: 8ds + 8ds, flip.
R: 3ds – 3ds + 3ds – 3ds close.
R: 3ds + 4ds – 3ds – 4ds – 3ds close.
R: 3ds + 3ds – 3ds – 3ds close, turn your work over.

Repeat from ** 6 more times.
Ch: 6ds, turn.
R: 4ds + 5ds – 3ds close.
R: 3ds + 4ds – 3ds – 4ds – 3ds close.
R: 3ds + 5ds, join to the first ring, 4ds close, flip your work over.
Ch: 6ds, join to the first group of rings and cut and tie off the threads and weave them in. Next you’ll have to block the bracelet to get it to lay flat before adding the clasp. I block my projects by spraying them with water and stretching them flat and letting them dry on a flat surface.

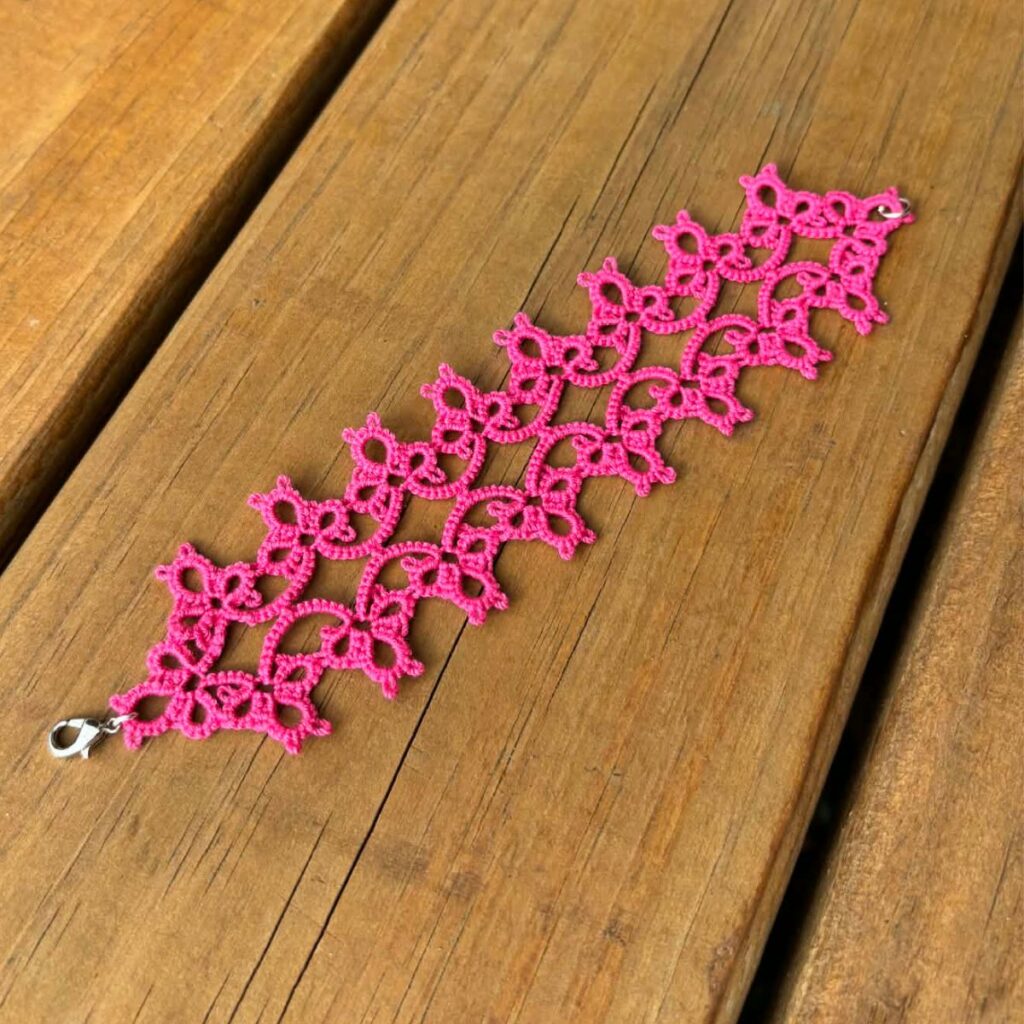
Next, add the clasp to the bracelet. I used a lobster clasp and a 4mm jump ring on one end and a 6mm jump ring on the other end.

Now, you have a finished bracelet.
Whether you’re new to tatting or looking for a relaxing project, this bracelet is a beautiful way to enjoy traditional lace-making in a modern, wearable form.
Happy tatting!
Check out some of my other free tatting patterns.
- Free and Easy Sunflower Tatting Pattern.
- Free Sunny Sunflower Tatting Pattern.
- Free Four Leaf Clover Tatting Pattern.
- Free and Easy Heart Tatting Pattern and Diagram.
- Beaded Necklace Pendant Tatting Pattern.
- Free Beaded Christmas Tree Tatting Pattern.
- Free Flower Bookmark Tatting Pattern and Tutorial.