If you love tatting and winter-inspired crafts, this Easy Blizzard Scarf Tatting Pattern is a fun project to add to your collection! This unique scarf is made from individual tatted pieces that resemble little snowflakes.
A lot of tatted scarfs I’ve seen are made with rectangles or squares, so I decided to make one using more circular pieces.
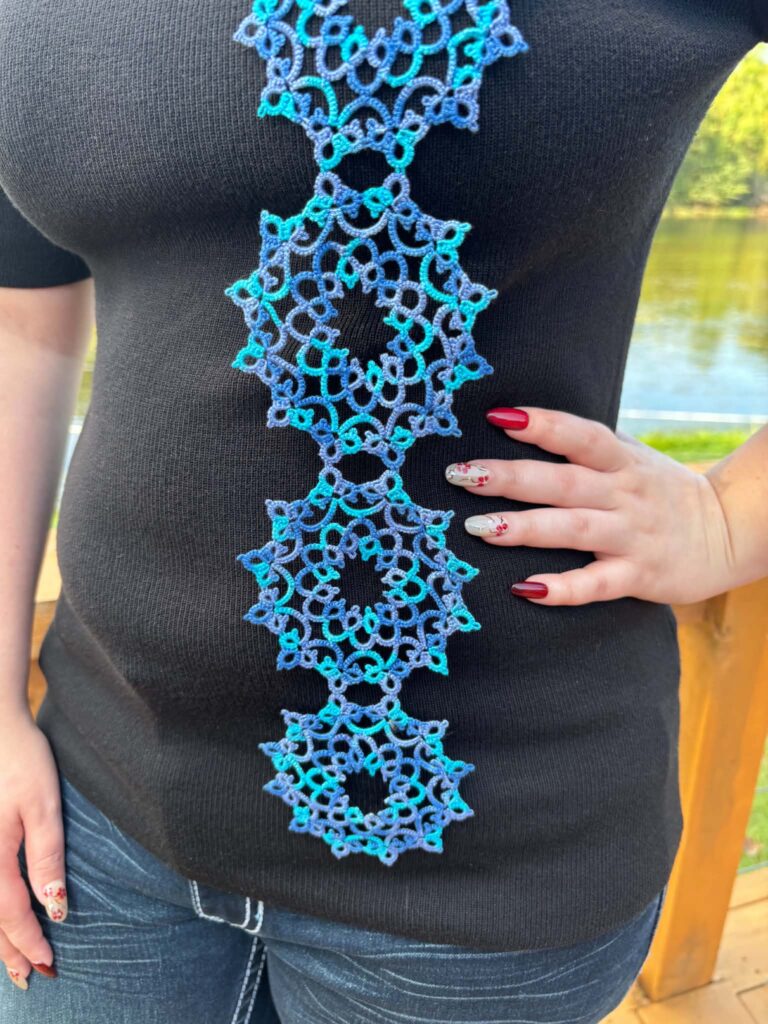

The finished scarf has a delicate, lacy look while still being a fun and fairly simple tatting project. The repeating tatted pieces give the scarf a pretty snowflake-inspired design, while making this pattern beginner-friendly.
I say this pattern is beginner-friendly, because it’s pretty simple and repetitive. You just need to know the basics of tatting.
Save this pattern for later on Pinterest Here.
Materials Needed
- Crochet thread size 10
- tatting shuttle or tatting needle
- Small scissors
- Blocking mats
- You can also purchase the ad-free PDF on my Etsy Shop Here
And here is the tatting diagram.
The finished scarf is approx. 51″ long and I made mine with 14 circle pieces.
Go!
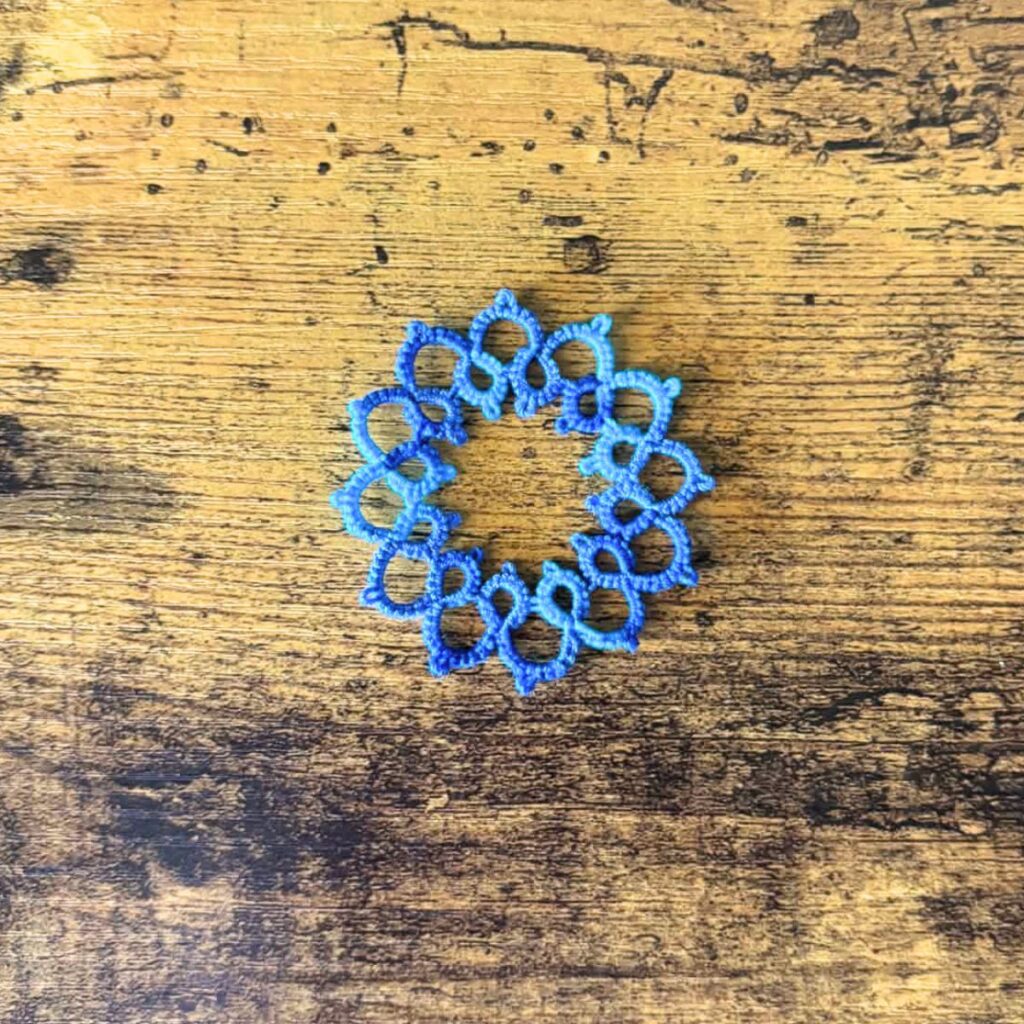
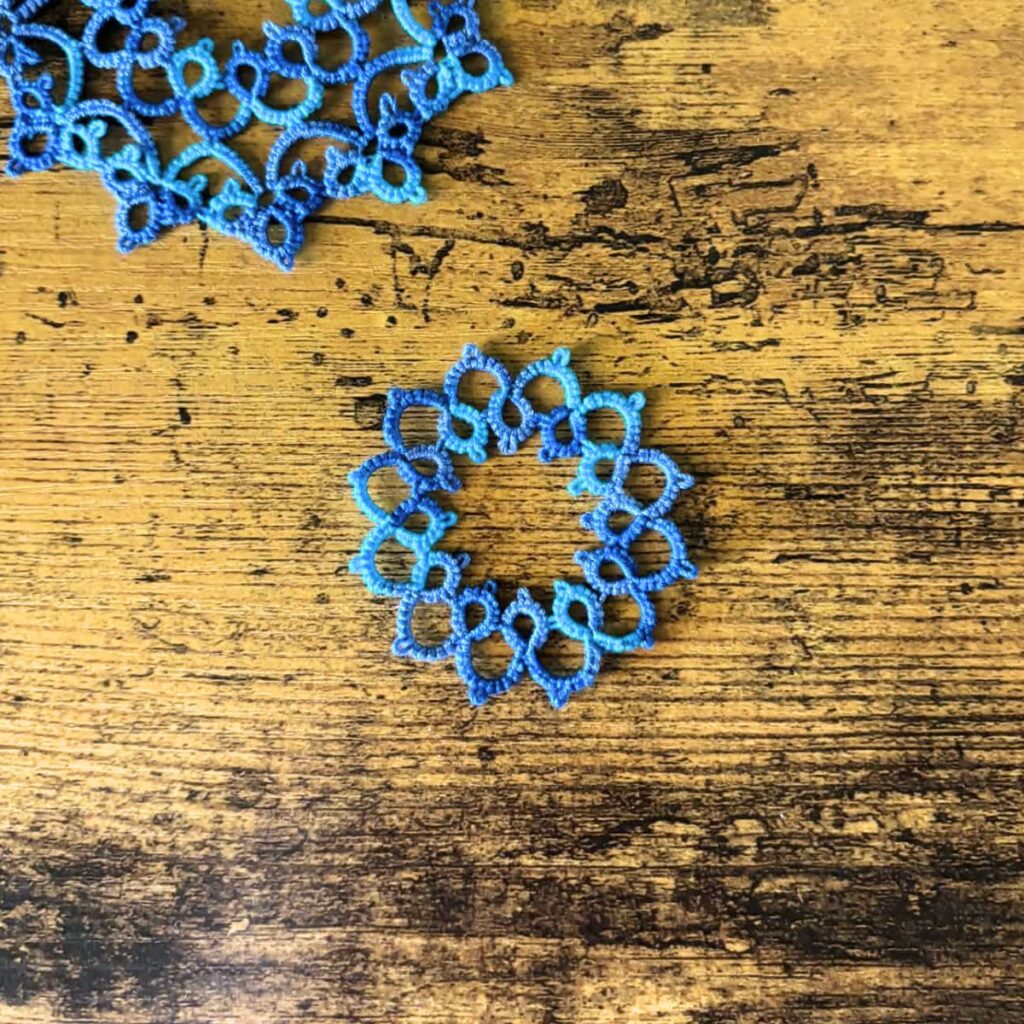
Round 1
R: 4ds – 4ds – 4ds – 4ds close, turn your work over.
Ch: 6ds – 6ds, turn.
R: 4ds + 4ds – 4ds – 4ds close, turn.
Ch: 6ds – 6ds, turn.
Continue repeating the last ring and chain until you have 12 connected rings and chains. Making sure to connect the final ring to the first ring you made. Now connect the last chain to the base of the first ring. Cut and tie off the threads and weave them in.
Round 2:
R: 3ds – 3ds – 3ds – 3ds close.
R: 3ds + 5ds – 5ds – 3ds close.
R: 3ds + 3ds – 3ds – 3ds close, turn.
Ch: 8ds join to the picot on round 1 chain, 8ds, turn.
*R: 3ds – 3ds + 3ds – 3ds close.
R: 3ds + 5ds – 5ds – 3ds close.
R: 3ds + 3ds – 3ds – 3ds close, turn.
Ch: 8ds + 8ds, turn.
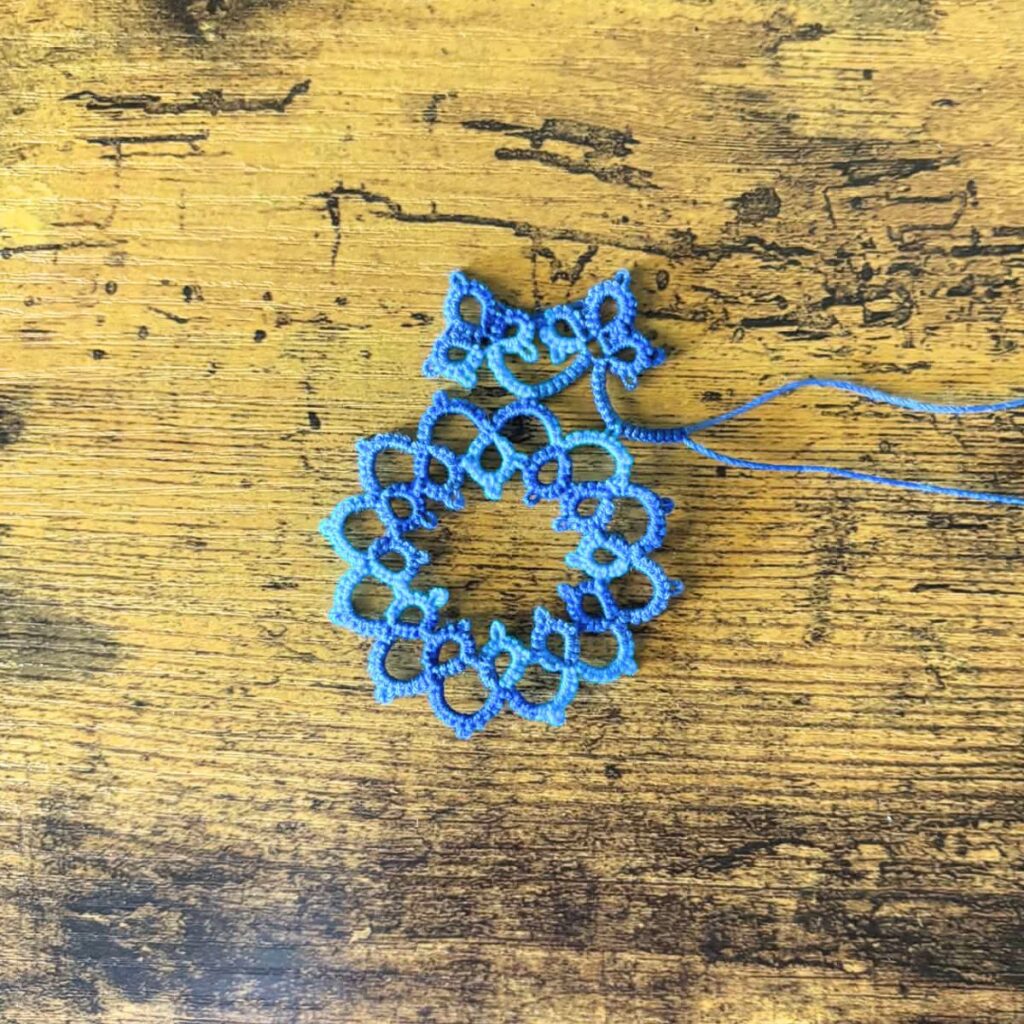
Repeat from * until you have tatted all the way around round 1 with a total of 12 groups of rings and make sure on the last group of rings to join to the first group. And join the last chain to the first group of rings and cut and tie off the thread and weave in the ends.
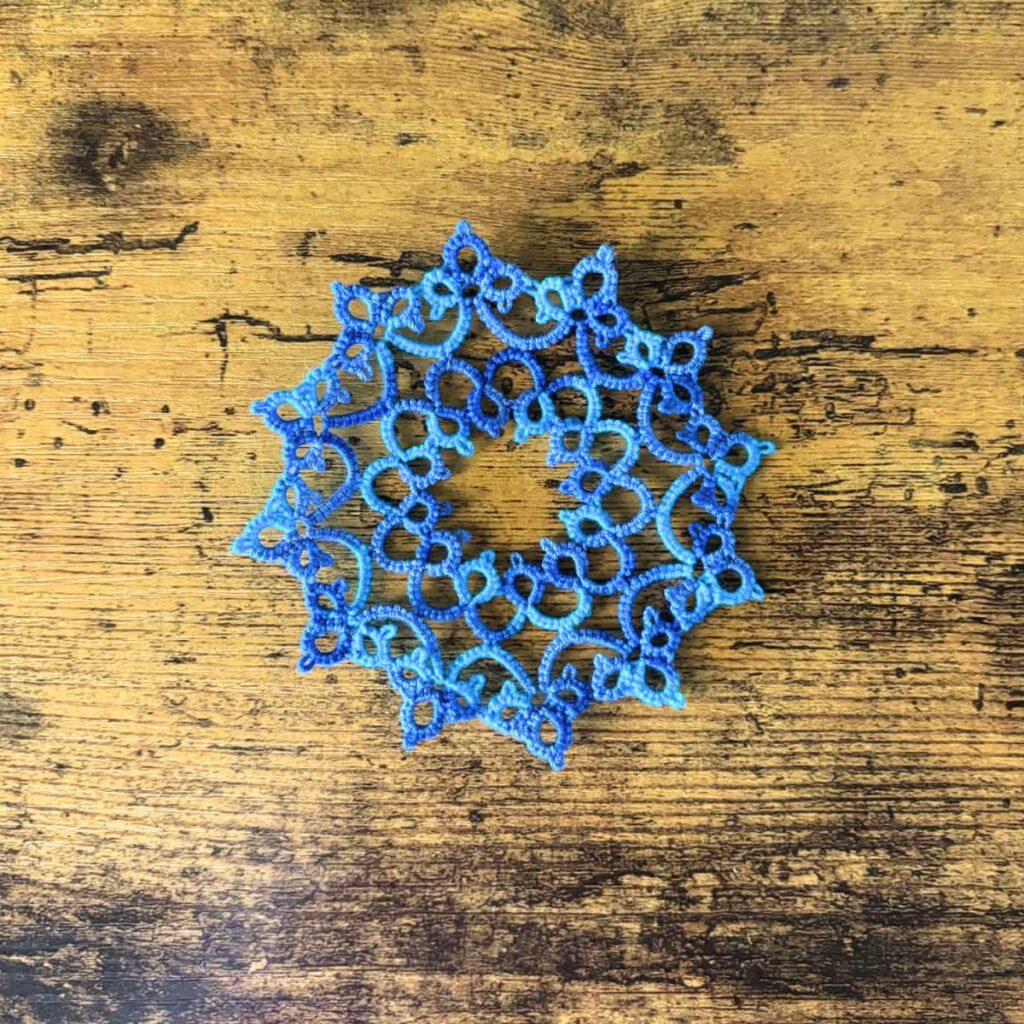
The first piece of the scarf is done! Now, we’ll make around piece.
Second Piece
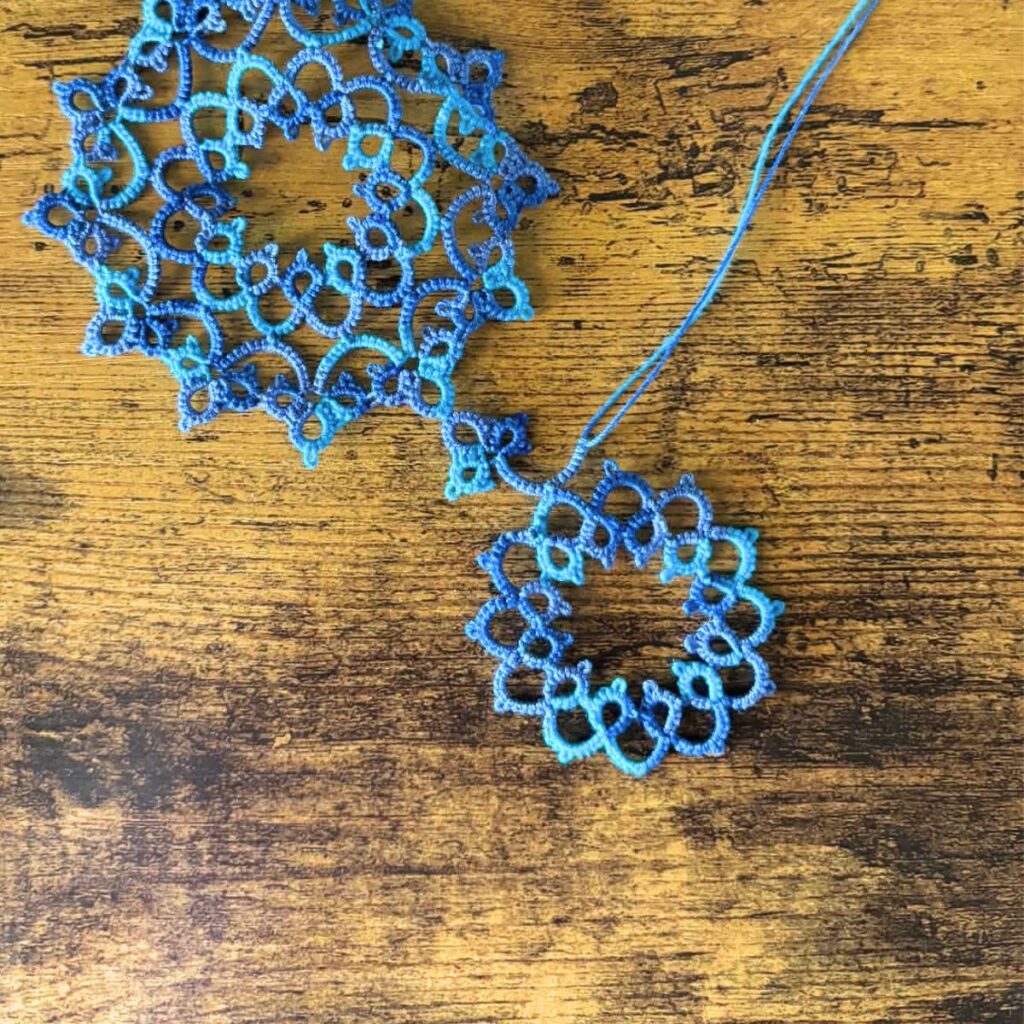
Make another round 1 piece like before.
Round 2
R: 3ds – 3ds – 3ds – 3ds close.
R: 3ds + 5ds, join to a round 2 ring of the first piece, 5ds – 3ds close.
R: 3ds + 3ds – 3ds – 3ds close, turn.
Ch: 8ds join to the picot on round 1 chain, 8ds, turn.
R: 3ds – 3ds + 3ds – 3ds close.
R: 3ds + 5ds + 5ds – 3ds close.
R: 3ds + 3ds – 3ds – 3ds close, turn.
Ch: 8ds + 8ds, turn.
*R: 3ds – 3ds + 3ds – 3ds close.
R: 3ds + 5ds – 5ds – 3ds close.
R: 3ds + 3ds – 3ds – 3ds close, turn.
Ch: 8ds + 8ds, turn.
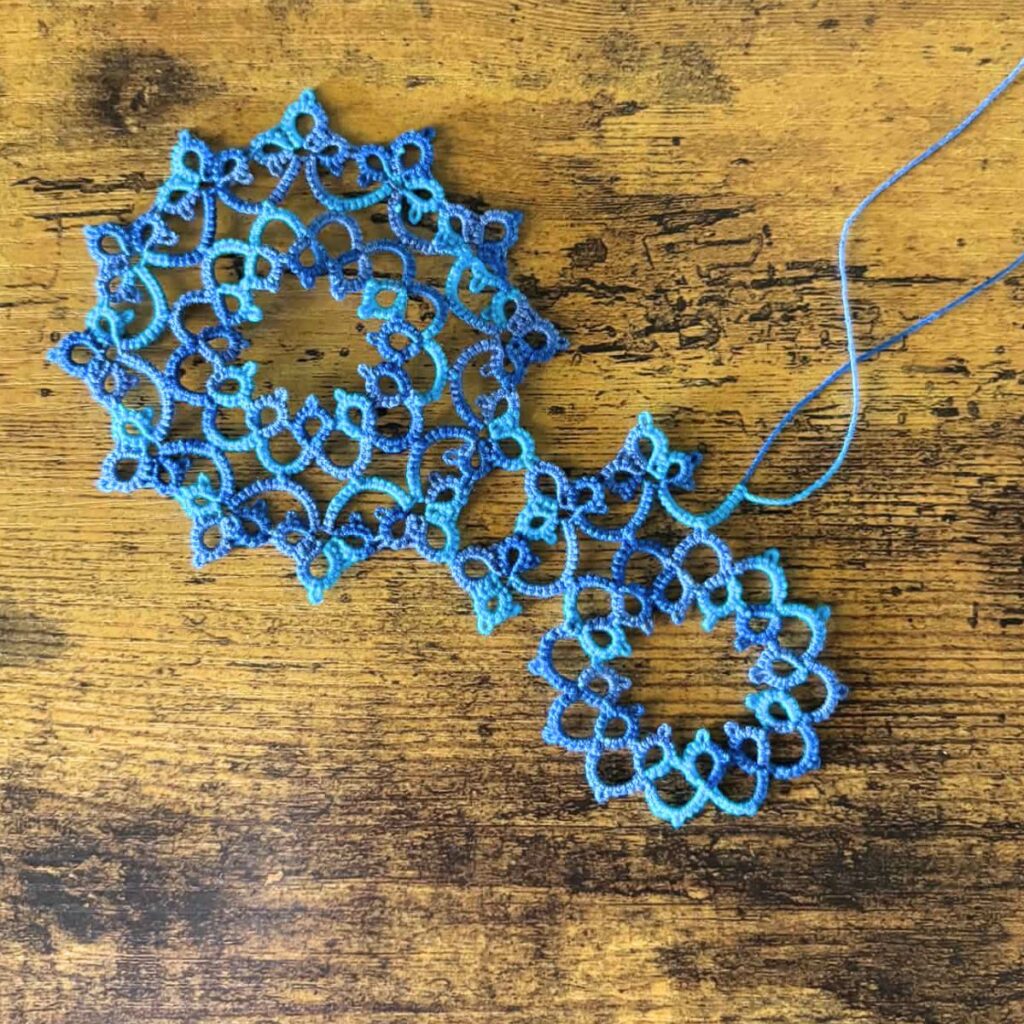
Repeat from * until you have tatted all the way around round 1 with a total of 12 groups of rings and make sure on the last group of rings to join to the first group. And join the last chain to the first group of rings and cut and tie off the thread and weave in the ends.
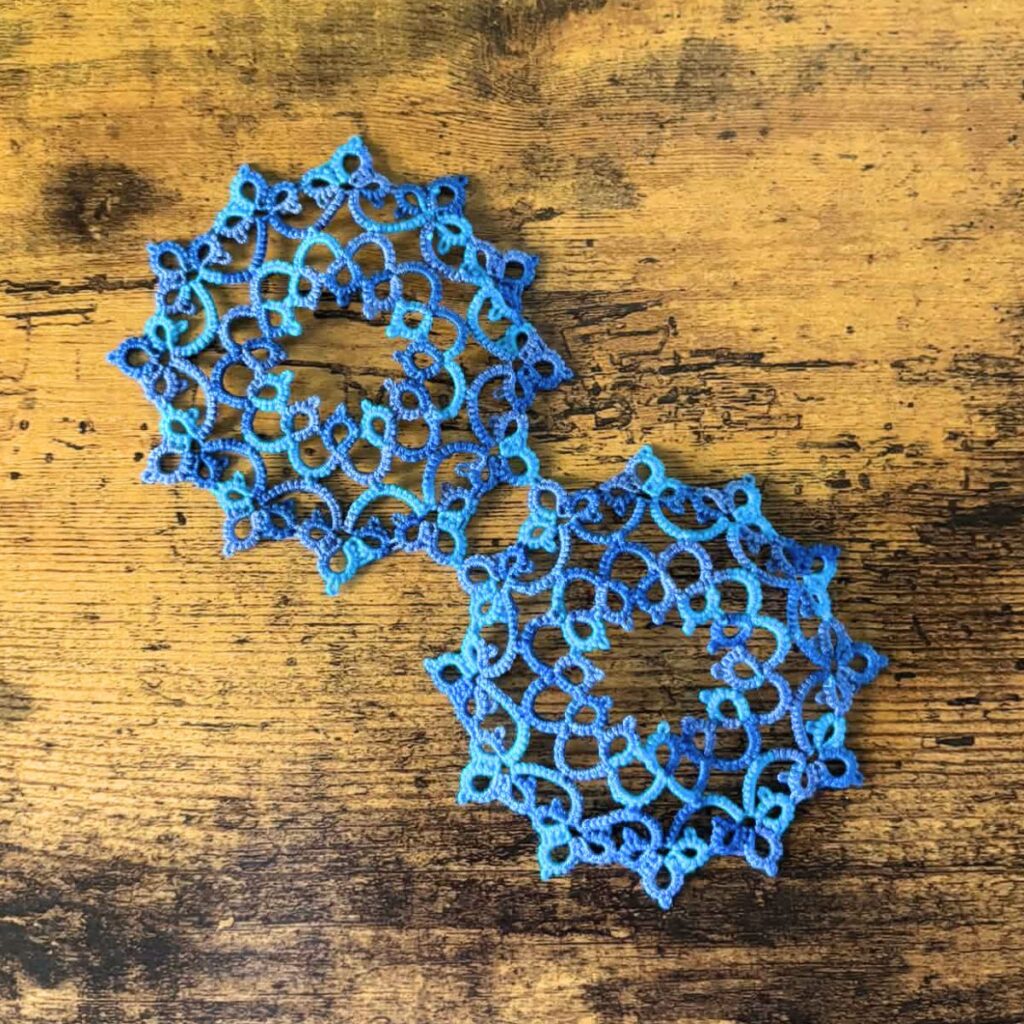
Continue making pieces like you made the second piece until your scarf is as long as you like. I made my scarf with 14 pieces.
After you have made the scarf as long as you like. Next, you’ll block the scarf. I used blocking mats and water to stretch out the pieces.
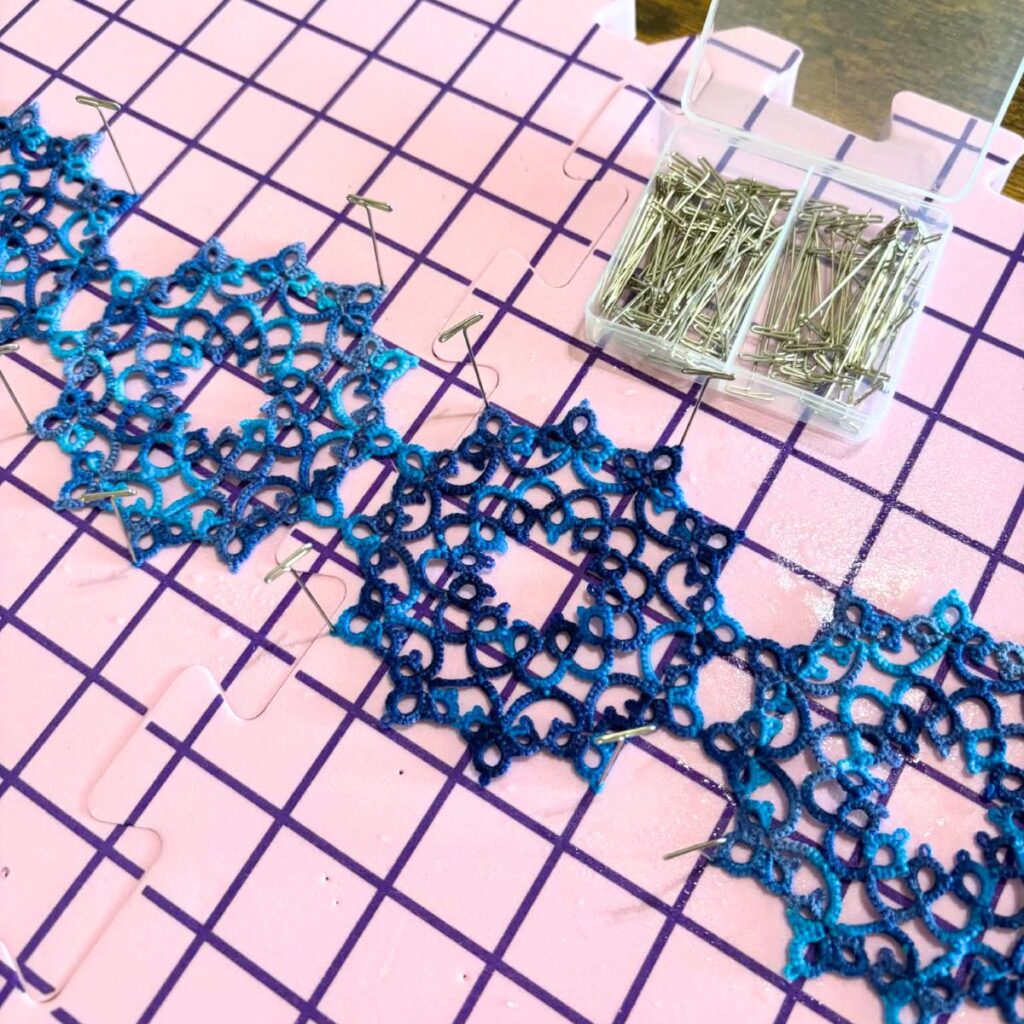
After the tatting has dried, you now have a finished scarf. I hope you liked this scarf tatting pattern and enjoyed making the scarf.
Happy Tatting!

Check out some of my other free tatting patterns.
- Summer Bandana Tatting Pattern
- Easy Lace Bracelet Tatting Pattern
- Free and Easy Sunflower Tatting Pattern.
- Free Sunny Sunflower Tatting Pattern.
- Free Four Leaf Clover Tatting Pattern.
- Free and Easy Heart Tatting Pattern and Diagram.
- Beaded Necklace Pendant Tatting Pattern.
- Free Beaded Christmas Tree Tatting Pattern.
- Free Flower Bookmark Tatting Pattern and Tutorial.


