Hello everyone, and welcome back to my blog. This post is another free tatting pattern.
This free pattern is for a tatted posy. Flowers are one of my favorite things to make and I especially love this flower, because most tatted items are flat. But, this pattern makes a posy flower that is 3D and looks like a posy.
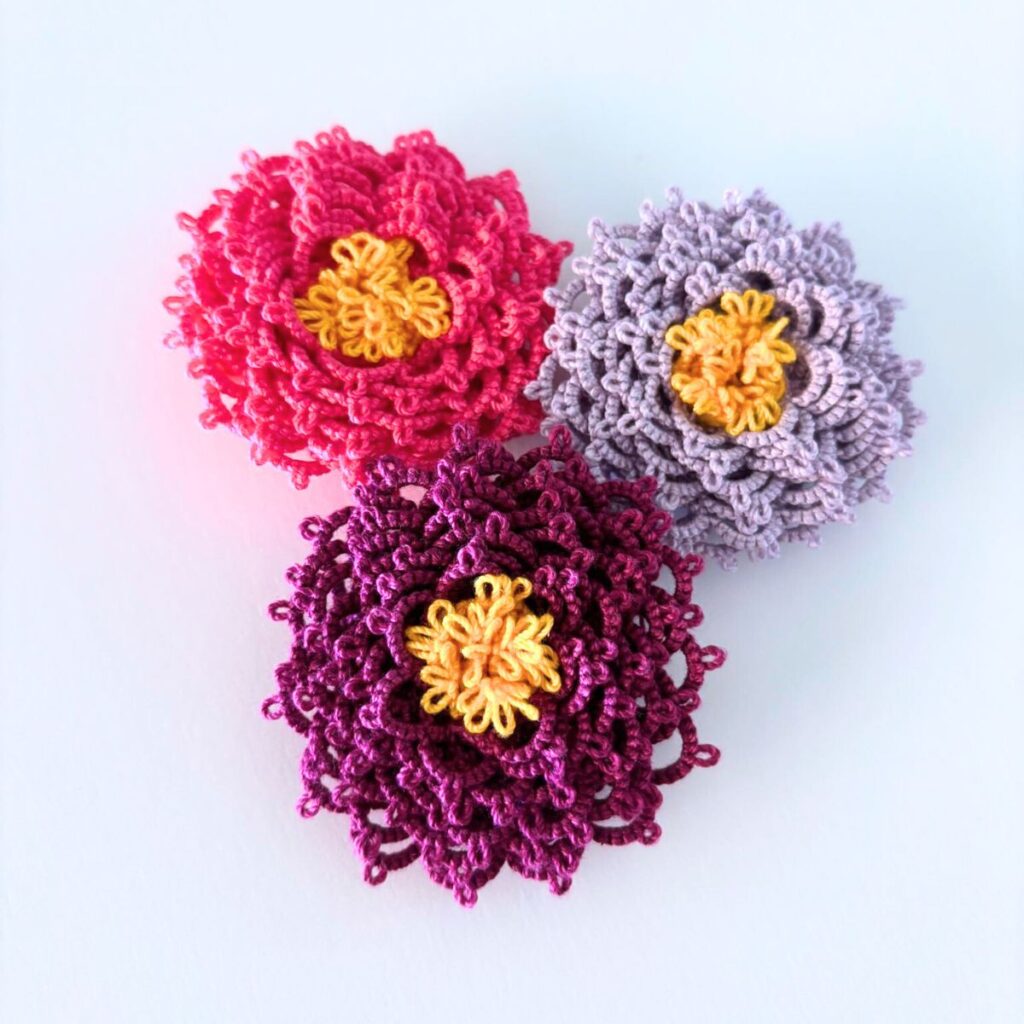
This flower can be made in whatever colors of crochet thread you want and can be used to decorate brooches, headbands, bracelets and more.
As I was making this pattern I was thinking that this wasn’t how you make most tatted items. But, I wanted to make a flower that wasn’t flat and looked more like a flower.
So, here is my free posy pattern that is made with tatting.
Save this free pattern for later in Pinterest Here.
* This Post may contain affiliate links*
Supplies
- Size 10 Crochet Thread in Yellow
- Size 10 Crochet Thread in any other Color
- Tatting Shuttle or Tatting Needle
- Small Crochet Hook (optional)
- Scissors
- You can also purchase the ad-free PDF version in my Etsy Shop Here.
And because the way this flower is made I didn’t make a tatting diagram.
A finished flower is approx. 2″ wide.
And I make the flower using the ball and shuttle method of tatting, but you could also make it by needle tatting.
Tatting key
- ds = double stitches
- Ch = chain
- R = ring
- (-) = picot
- (+) = join
Go!
Wind your shuttle in the yellow crochet thread.
R: 4ds – 3ds – 1ds – 1ds – 3ds – 4ds close, turn your work over.
Ch: 4ds – 4ds, turn.
R: 4ds + 3ds – 1ds – 1ds – 3ds – 4ds close, turn.
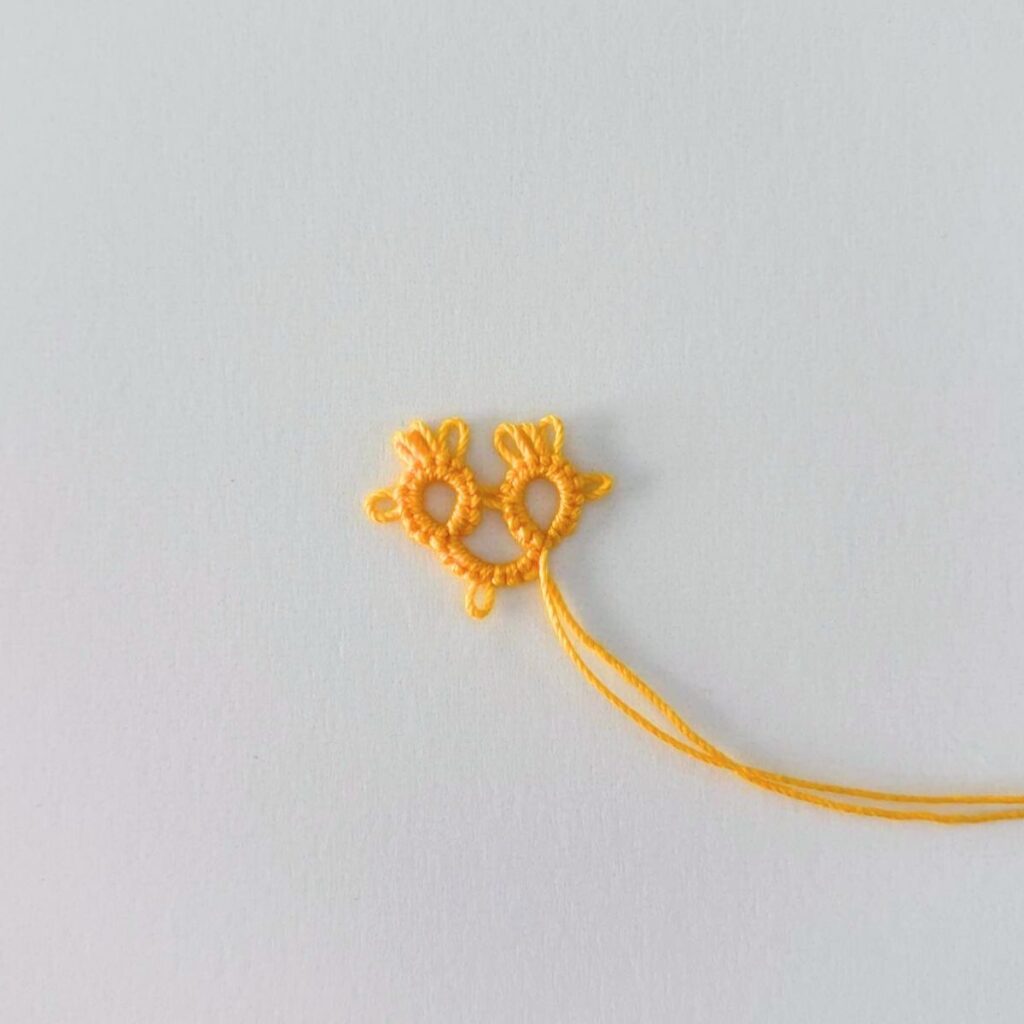
Repeat the last chain and ring until you have 10 rings.

Cut one of the threads like normal, but cut the other one about 18 inches long. Tie the threads like normal and weave in the short end and trim it.
Take the longer end and go through the free side picot of the last ring.
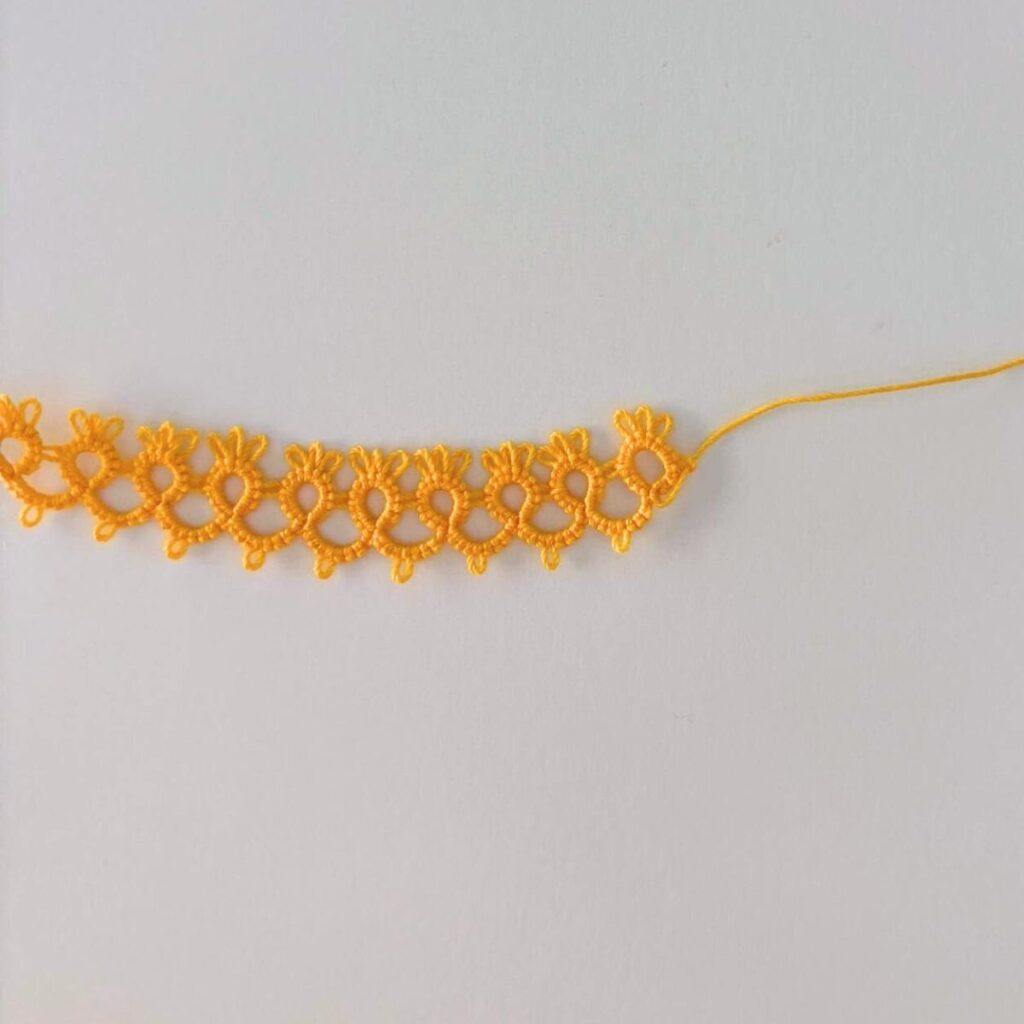
Now, go through the connected picot three rings away. And following the pictures below continue stitching the tatted chain together in a circle. After you have stitched it in a circle tie off the thread and cut it.

Second part of the flower
Wind your shuttle in the other color of thread.
R: 4ds – 4ds – 4ds – 4ds close, turn your work over.
Ch: 5ds – 5ds, turn.
R: 4ds + 4ds – 4ds – 4ds close, turn.

Repeat the last chain and ring until you have a tatted chain approx. 30″ long.

Cut one of the thread like normal and cut the other longer (about 5 feet long, I know that sounds like a lot, but you’ll need the extra length to stitch the flower together.)
Tie the ends together like normal and weave in the short end and trim. Take the longer end and go through the free side picot.

Now, go through the connected picot that is 7 rings away (look at the pic. below for reference), and you’ll need to have the rings facing down and the chains facing up. Place the yellow flower center in the middle of the circle (you’ll have the rings of the center facing up while the rings of the outer flower are facing down).
Poke the needle through the next picots and go through the center to the other side. And stitch through the center a couple more times to secure it.

Wrap the flower chain around the center a little at a time and stitch it as you wrap. The pictures below will help you understand how you do it. And continue wrapping and stitching until you have stitched the whole chain around the flower.


After you have finished wrapping and stitching the flower chain, secure the last ring to the side of the flower and tie off the end and cut it.
Now, you have a finished posy flower. I hope you enjoyed this tatting pattern, even though this is a different kind of tatting pattern than normal.

Check out some of my other free tatting patterns.
- Free and Easy Sunflower Tatting Pattern.
- Free Sunny Sunflower Tatting Pattern.
- Free Four Leaf Clover Tatting Pattern.
- Free and Easy Heart Tatting Pattern and Diagram.
- Beaded Necklace Pendant Tatting Pattern.
- Free Beaded Christmas Tree Tatting Pattern.
- Free Flower Bookmark Tatting Pattern and Tutorial.