I recently made a fabric banner to celebrate 10K followers on Facebook. So, I decided to make a sewing tutorial on how to make a fabric banner. I thought might as well, since I was already making a banner.
Fabric banners are cute and add a personalized touch to your decor. With all the different prints and colors of fabric out there. You can make a banner that fits you personality.
These banners are also not hard to make, and use just a few supplies. They’re perfect for birthday parties, graduations, baby showers, and more. No matter the occasion, a fabric banner is great for adding a handmade touch.
Save this sewing tutorial for later Here.
Supplies
- (2) 10″ Cotton fabric squares for each letter you want to make.
- Quilt batting
- Scissors
- Pinking Shears
- Crochet thread (for hanging the banner)
- Heat erasable fabric pens
- Sewing supplies
Go!
Step 1: Gather your supplies.
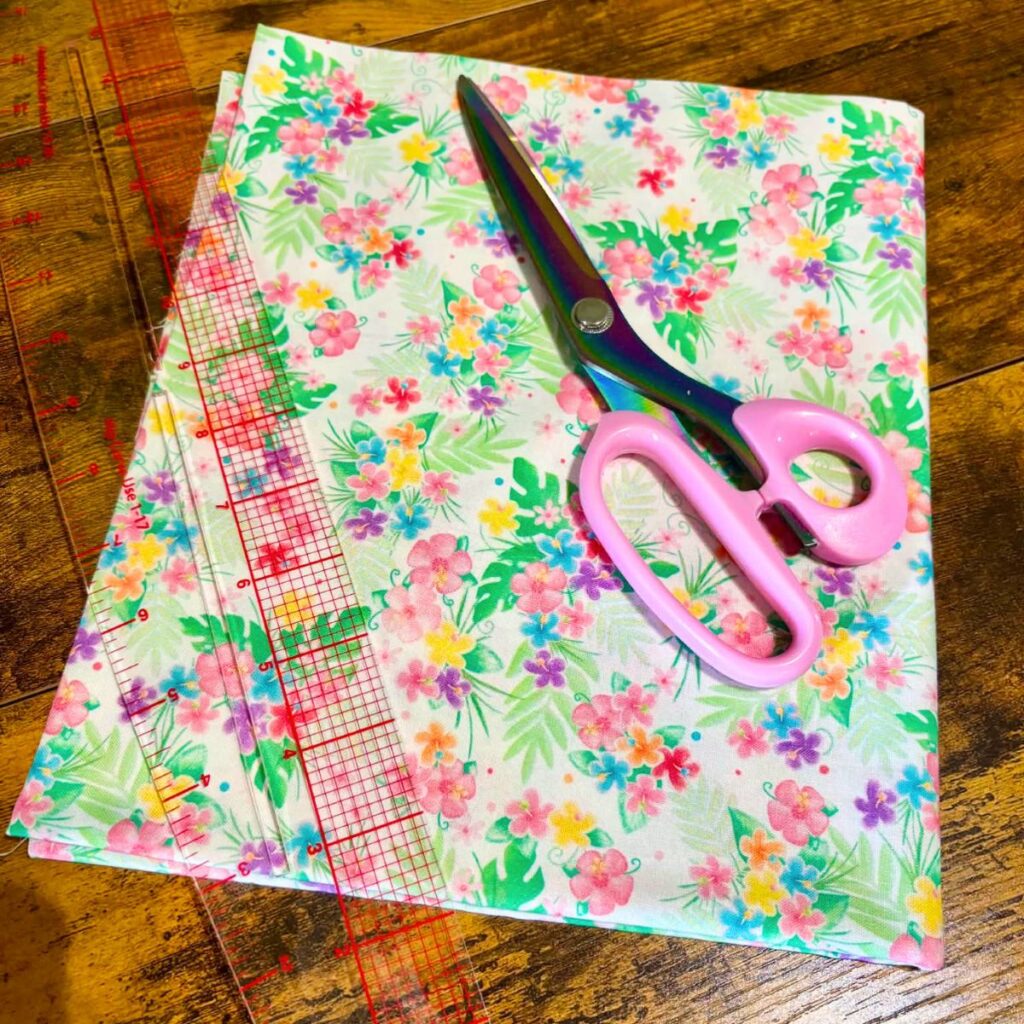
Step 2: Cut the fabric into 10″ squares.
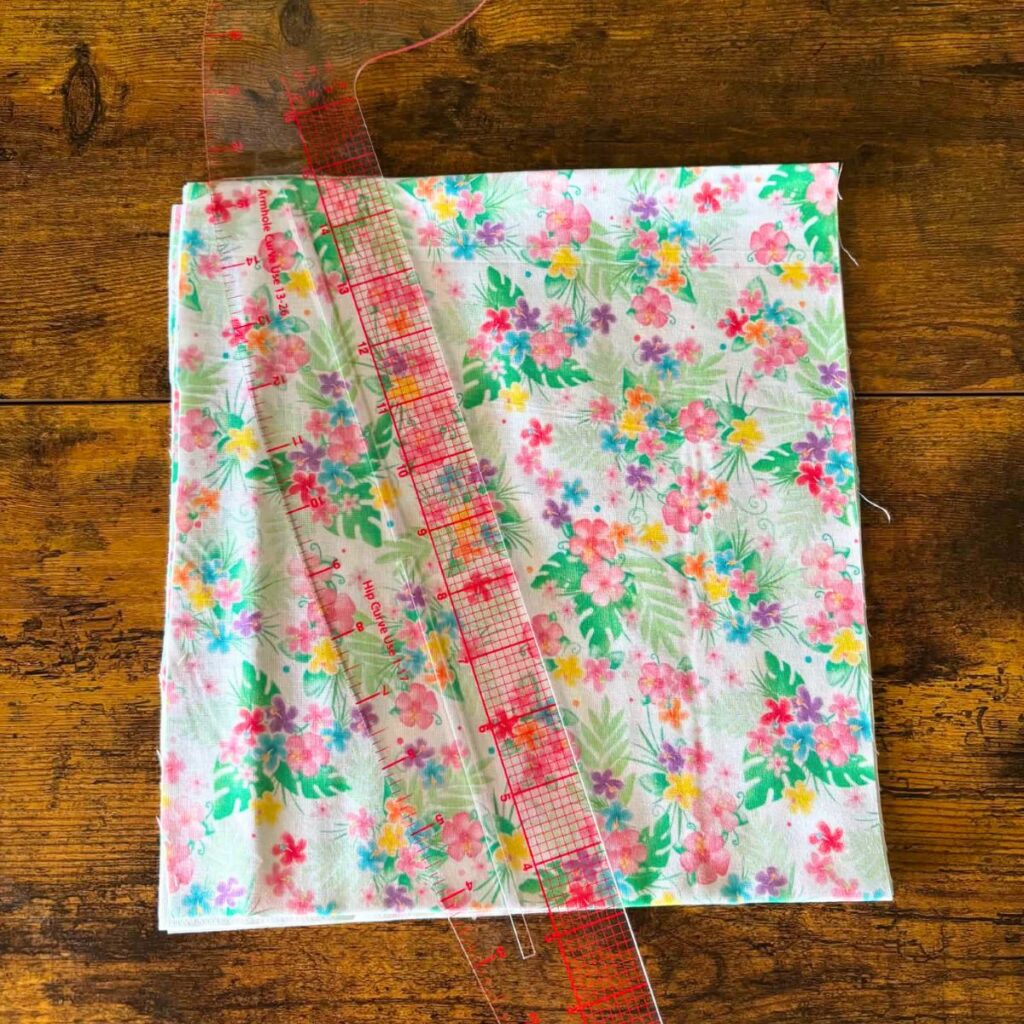
Step 3: Draw the letter you want to make on the fabric.
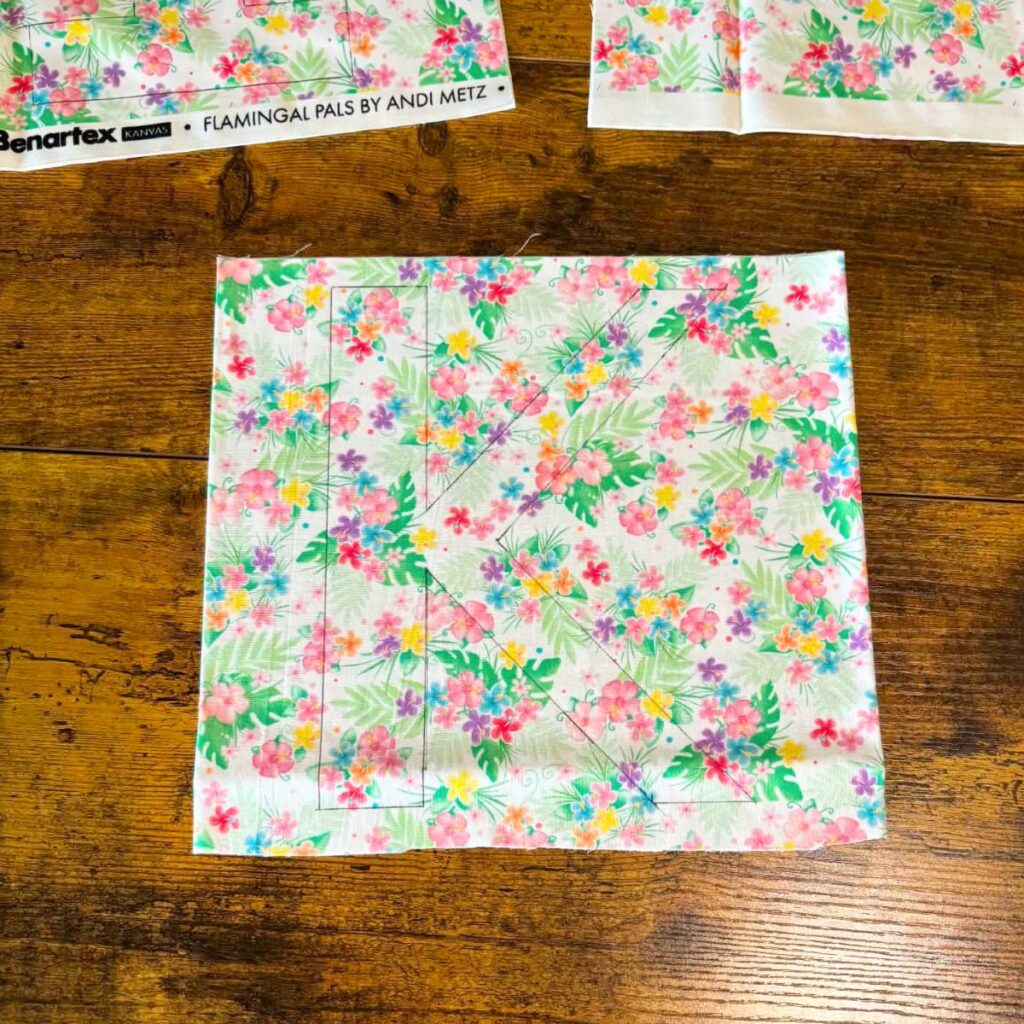
Step 4: Cut out the quilt batting.
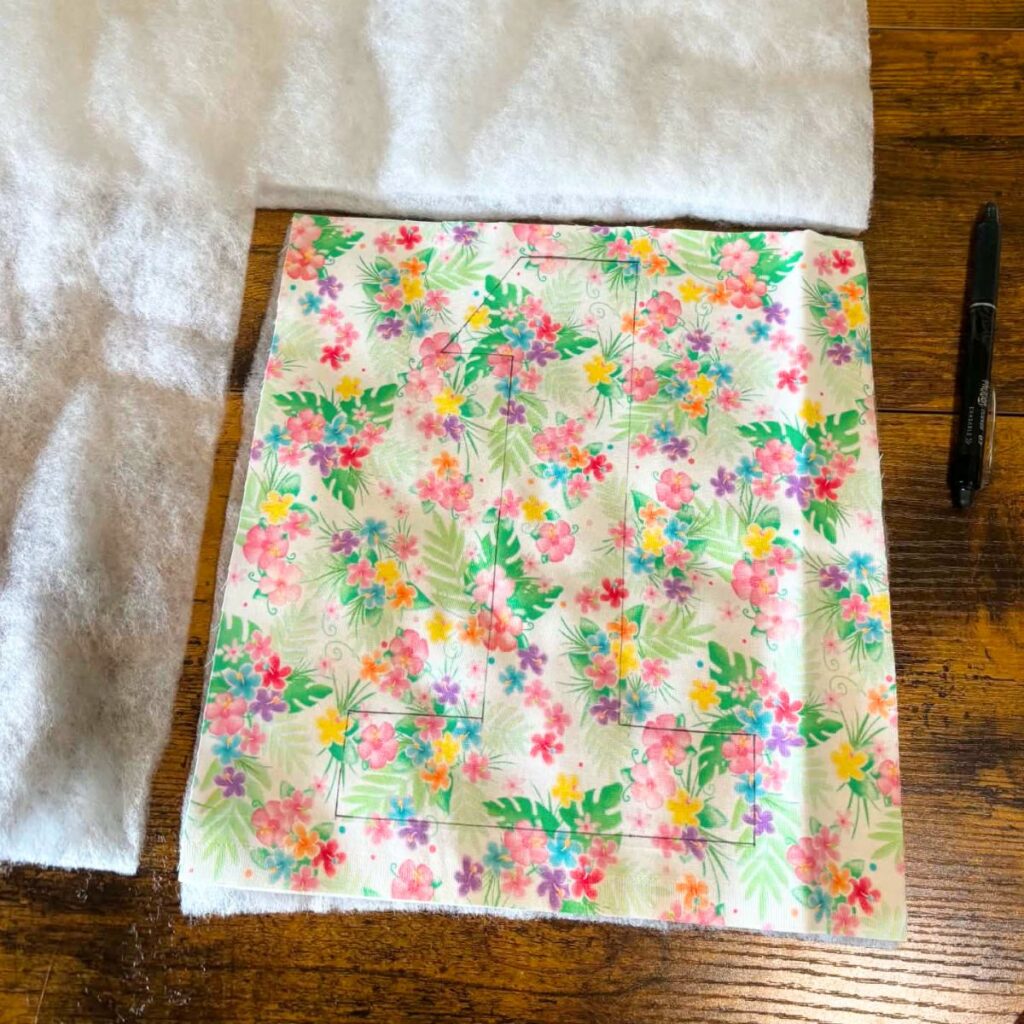
Step 5: Pin the layers together. Like this, fabric right side down, quilt batting, letter fabric piece right side up.
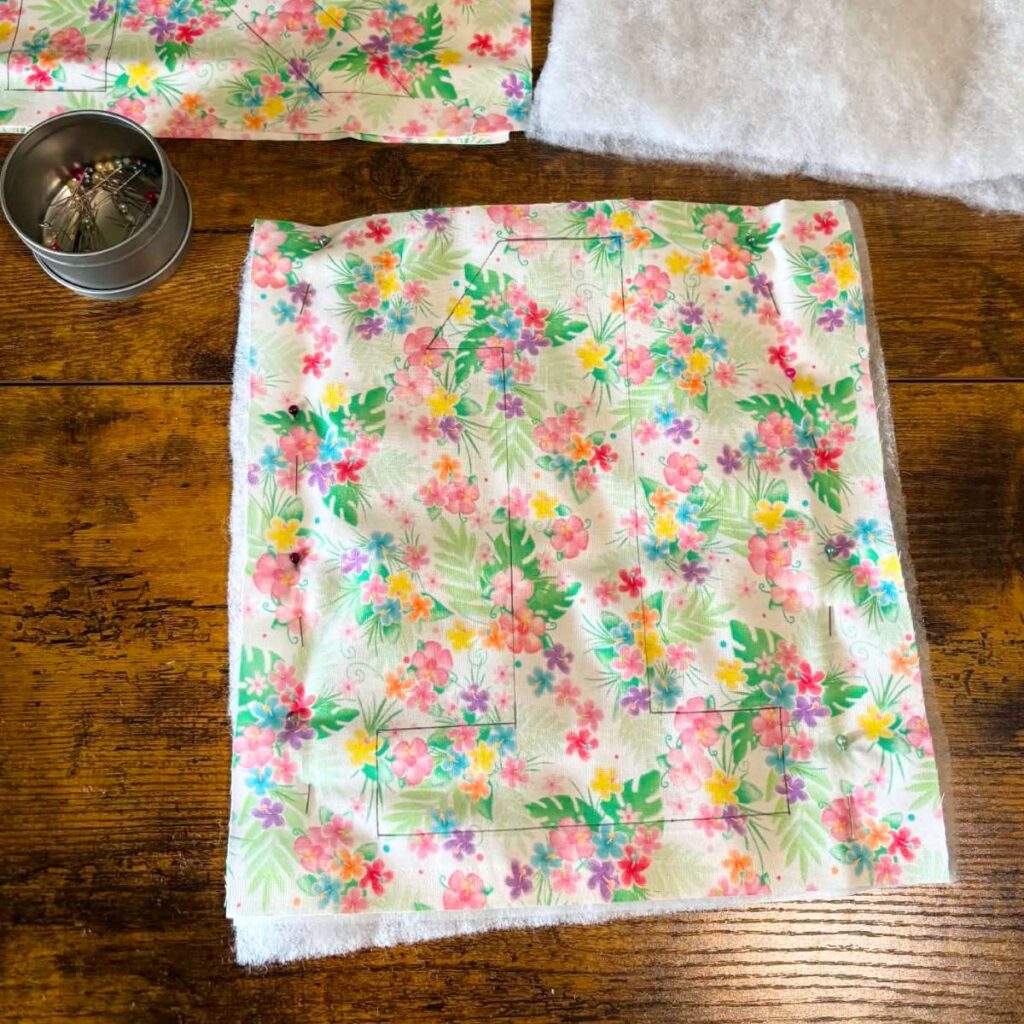
Step 6: Using the straight stitch, stitch around the letter. Do that for all the letters and then use an iron to remove the pen marks.
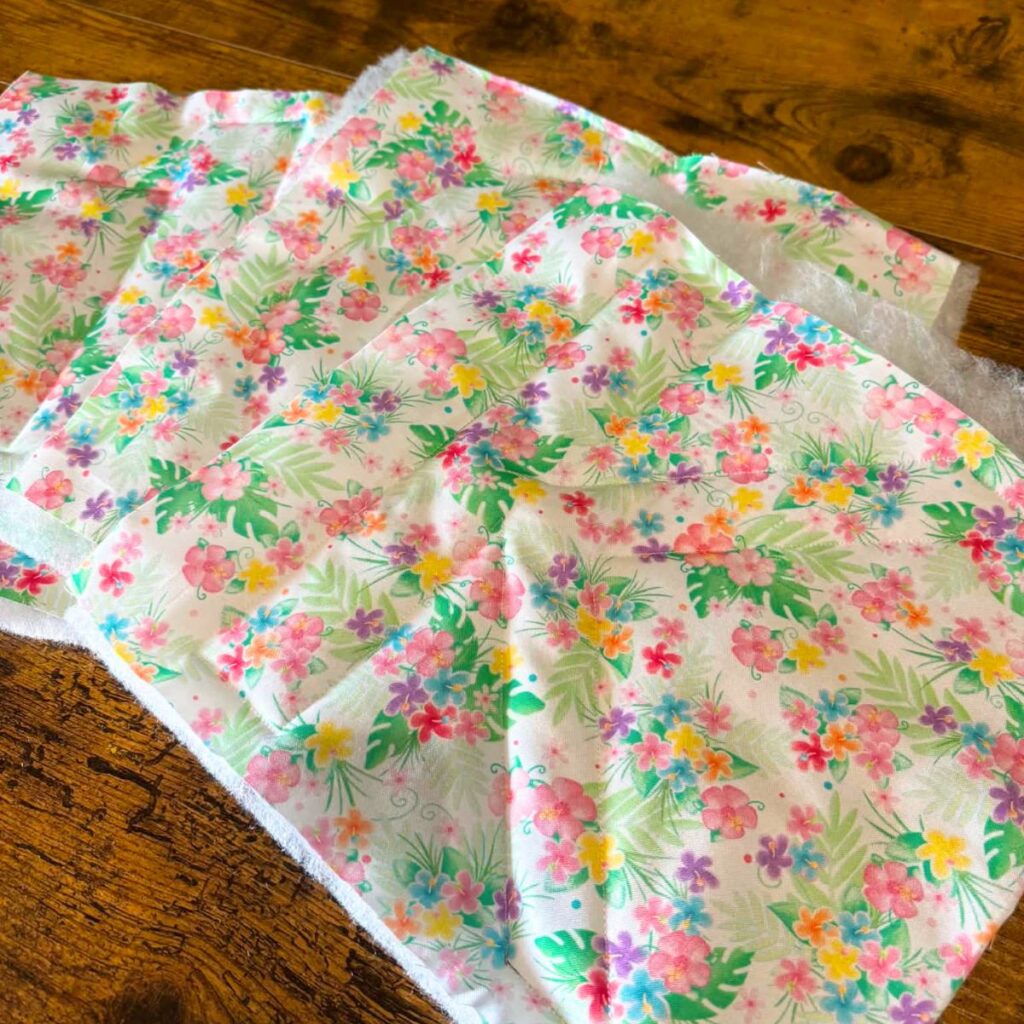
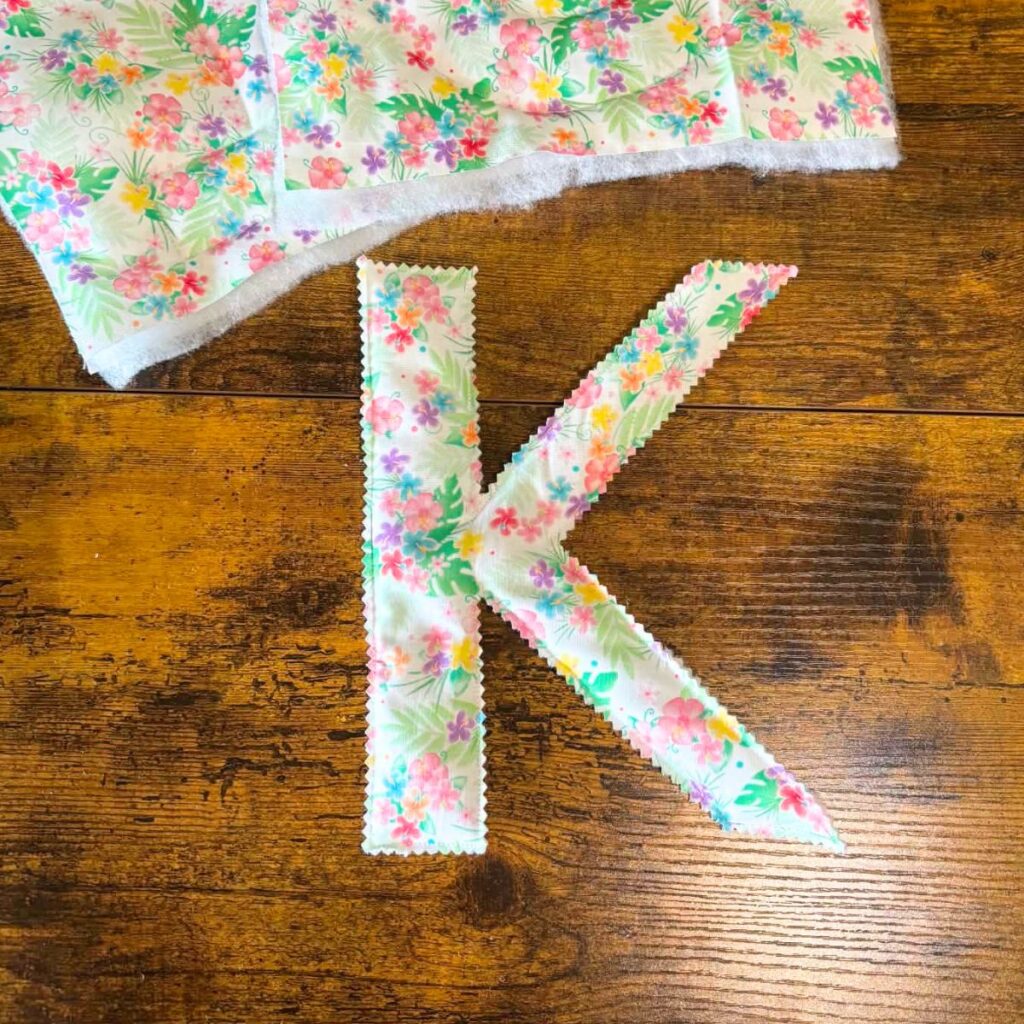
Step 7: Using the pinking shears, cut out the letters. Being careful not to cut the stitching.
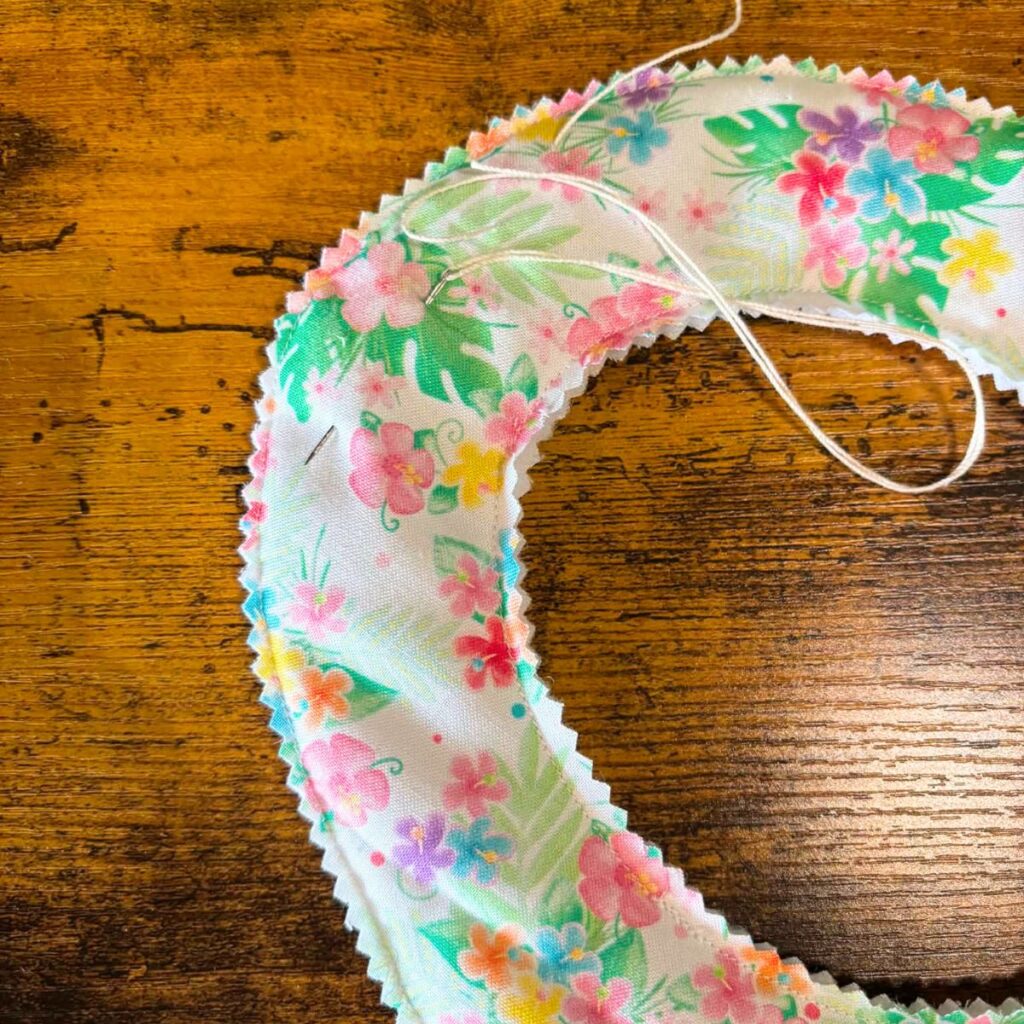
Step 8: Now, you’ll need to take the crochet thread and run it through the top off the letters.
Now, you have a finished fabric banner! I like to lay the letter out on the table the way I want them on the banner. So, I know the order I need to thread them on the crochet thread.
And I used all the same fabric for all the letters. But, you could use all kinds of different colors and prints of fabric to make the fabric banner really unique, and eye catching.
Here is a tip for using heat erasable pens. Mark a scrap of fabric with the pen and try to remove it. This helps in case the fabric you’re using doesn’t completely remove the marks of the pen. I have used fabric that the marker didn’t want to come off, so I’ve learned to use scraps of fabric to test it.
Whether you’re making a banner to celebrate a birthday, baby shower, graduation, or like me for celebrating getting more followers. I hope that this sewing tutorial will help you make a beautiful and unique fabric banner.
Happy Sewing!
Check out some of my other sewing posts.
- Easy Ruffled Apron Sewing Tutorial
- Stitching the Sea: Jellyfish Sewing and Tatting Pattern
- How to Make Flowers using a Template
- The Different Types of Sewing Buttons You Can Use.
- Ideas on How to Store All of Your Sewing Patterns.
- Perfecting Your Sewing Patterns with Tracing Paper.
- What’s Best Computerized or Mechanical Sewing Machines.
- The 5 Best Affordable Sewing Machines Under $200.


