Who is ready for Christmas and loves making Christmas decorations or just any Christmas crafts. Here is my newest pattern, this is a free snowman tatting pattern.
This is a great snowman decoration and I would say this is a intermediate or a confident beginner. The head and body uses just basic rings and chains, but the hat band calls for split rings.
If you’ve tatted a couple of things and you’re ready to try something a little more complicated. This would be a great pattern for you. Because this free snowman tatting pattern really isn’t a hard tatting pattern, but it does have quite a few steps.
I love making Christmas crafts and can make them all year round. Around March or April I had an idea for a snowman tatting pattern.
So, I started working on a snowman and it took me a quite of few tries to get the snowman to look right to me. But, I finally got a great snowman and I’m sharing the pattern below.
The thing that took me the longest was getting the body proportioned right with the head. Because I didn’t want the body to big for the head, but I also didn’t want it to small either.
I hope that you will enjoy this free tatting pattern. And I also have the free tatting diagram below with the supplies list and happy tatting.
Save this post on your Pinterest for later Here.
* This Post may contain affiliate links.*
Supplies
- #10 Crochet thread in white and black
- Tatting shuttles or needles
- Scissors
- Small crochet hook (optional)
- You can also purchase the ad-free PDF pattern on my Etsy shop Here for a small fee.
Here is the tatting diagram if you prefer using a diagram.
And I made this pattern using tatting shuttles, but you could make this with needle tatting. I like shuttle tatting better, so that’s what I use to make my patterns.
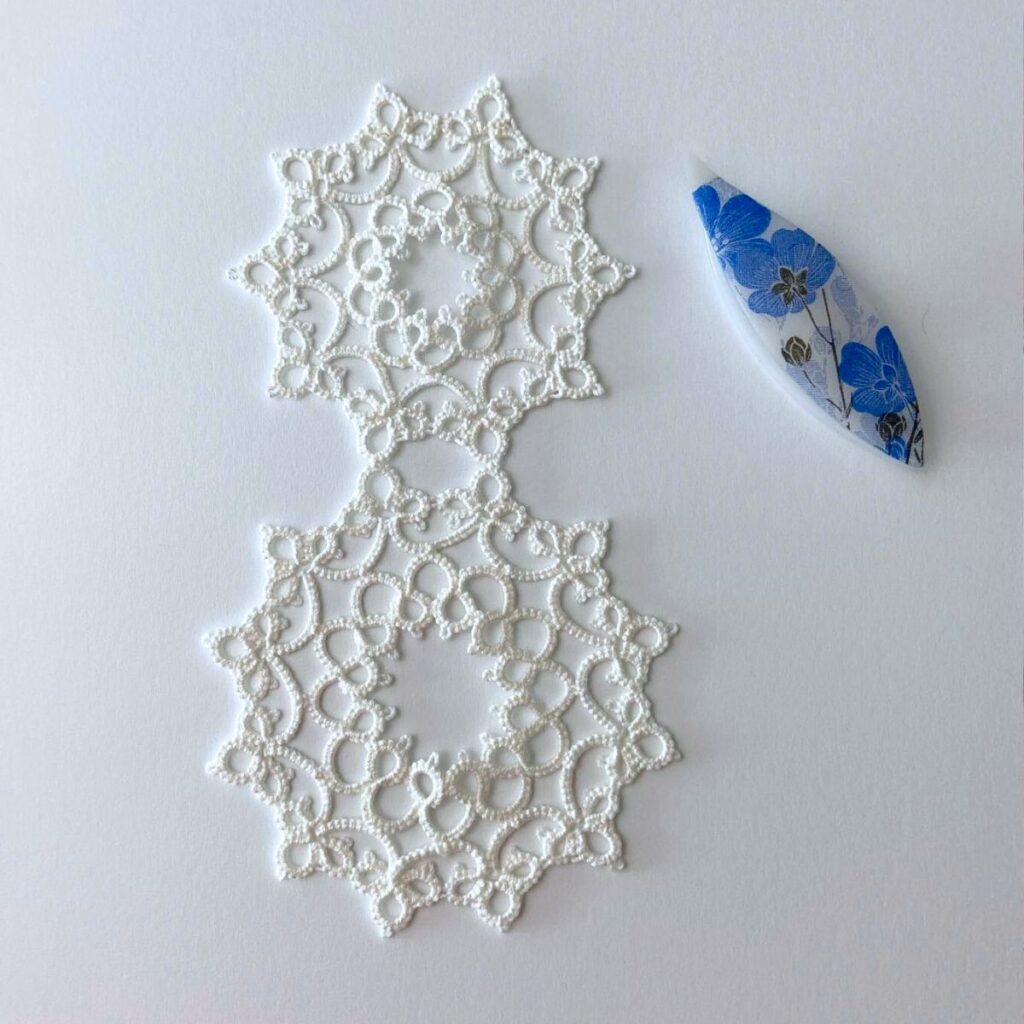
And a finished snowman is approx. 8 1/2″ long and is about 3 3/4″ wide at the widest point of the body.
Tatting key
- ds = double stitches
- Ch = chain
- R = ring
- (-) = picot
- (+) = join
Go!
Body:
Using the white crochet thread wind your shuttle.
Round 1
R: 4ds – 4ds – 4ds – 4ds close, turn your work over.
Ch: 6ds – 6ds, turn.
R: 4ds + 4ds – 4ds – 4ds close, turn.
Ch: 6ds – 6ds, turn.
R: 4ds + 4ds – 4ds – 4ds close, turn.
Ch: 6ds – 6ds, turn.
R: 4ds + 4ds – 4ds – 4ds close, turn.
Ch: 6ds – 6ds, turn.

Continue repeating the last ring and chain until you have 12 connected rings and chains. Making sure to connect the final ring to the ring before and the first ring you made. Now connect the last chain to the base of the first ring. Cut and tie off the threads and weave them in.
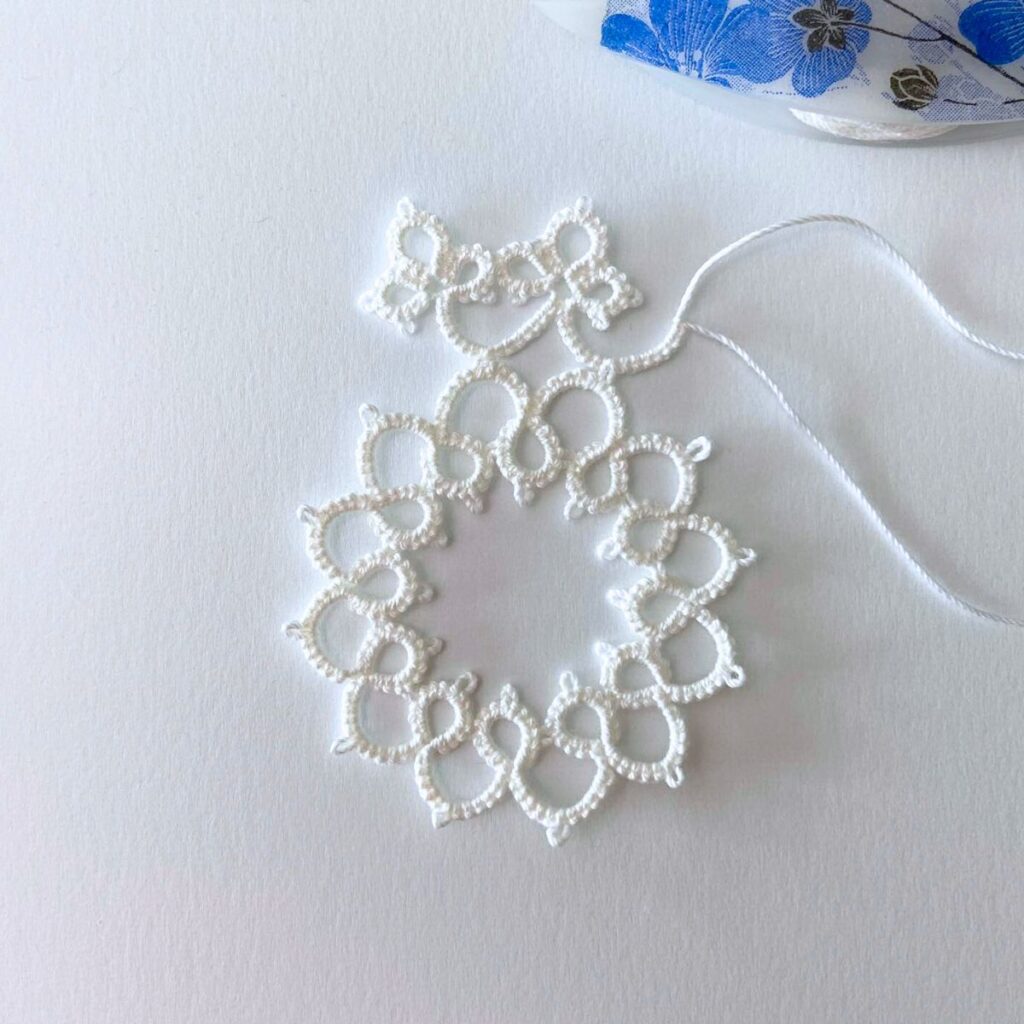
Now you have the inside round of the snowman’s body. Next we’ll work on the outer round.
Round 2:
R: 3ds – 3ds – 3ds – 3ds close.
R: 3ds + 5ds – 5ds – 3ds close.
R: 3ds + 3ds – 3ds – 3ds close, turn.
Ch: 8ds join to the picot on round 1 chain, 8ds, turn.
R: 3ds – 3ds join to the middle picot of the last ring you made, 3ds – 3ds close.
R: 3ds + 5ds – 5ds – 3ds close.
R: 3ds + 3ds – 3ds – 3ds close, turn.
Ch: 8ds + 8ds, turn.
Repeat until you have 12 groups of rings making sure on the last group to connect the last ring to the first ring you made. And connect the last chain to the first group of rings.
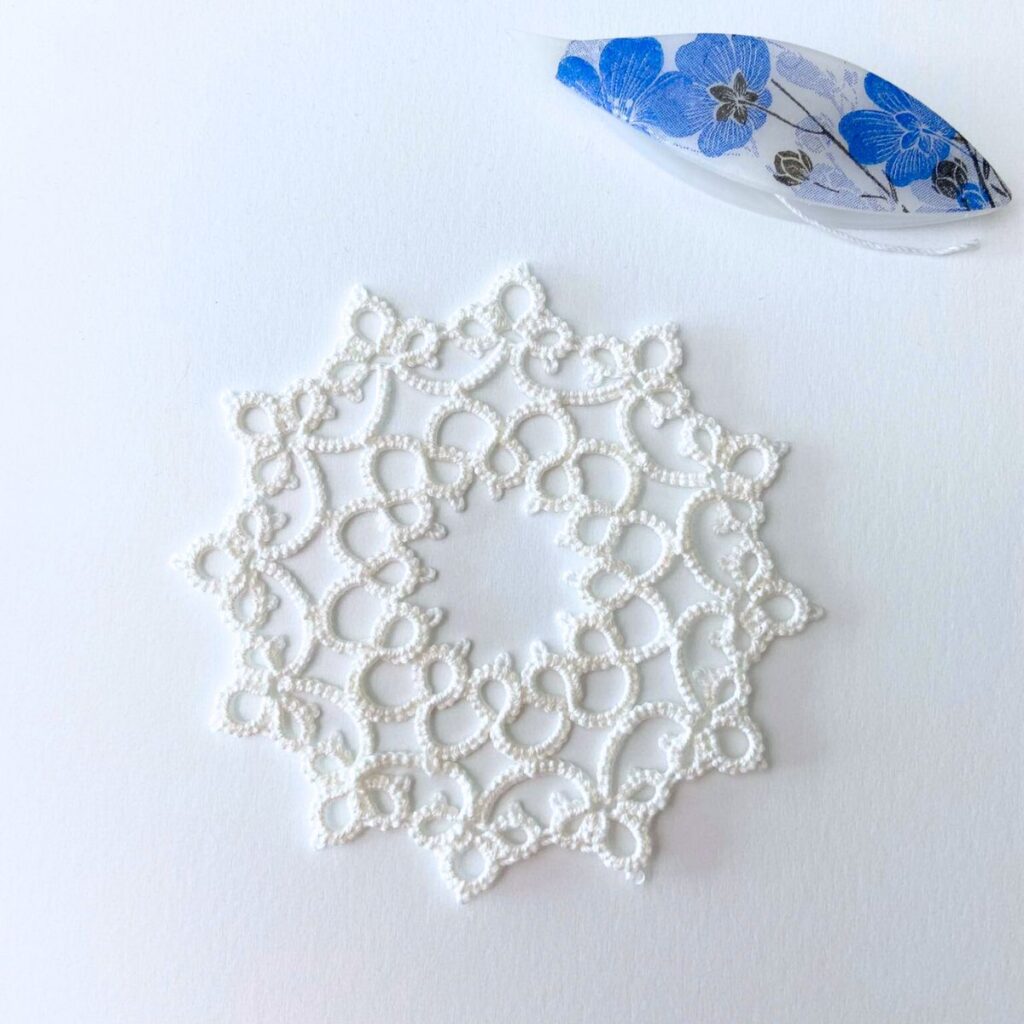
Cut and tie off your threads and weave them in. And if the snowman’s body doesn’t want to lay flat you may have to stretch it out a little. I do this by placing it on a table and gently stretching it out with my hands.
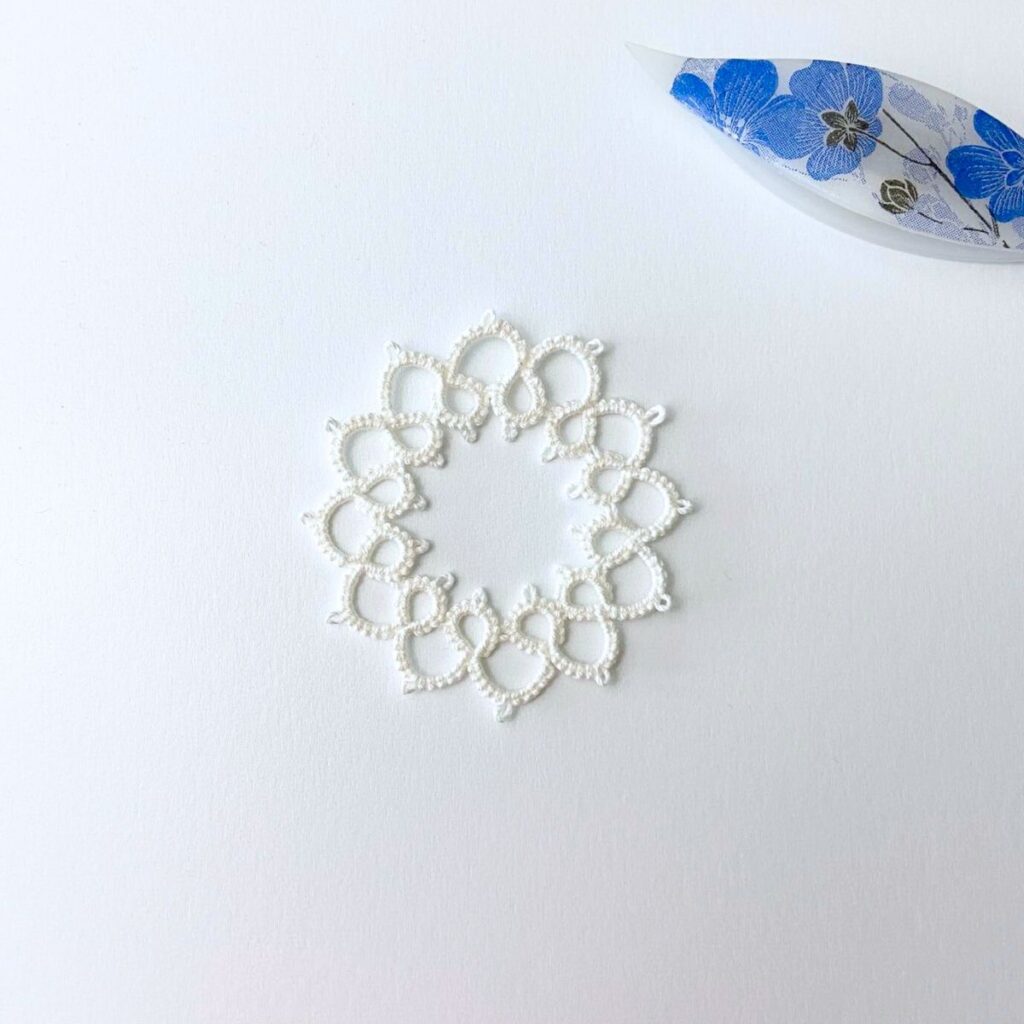
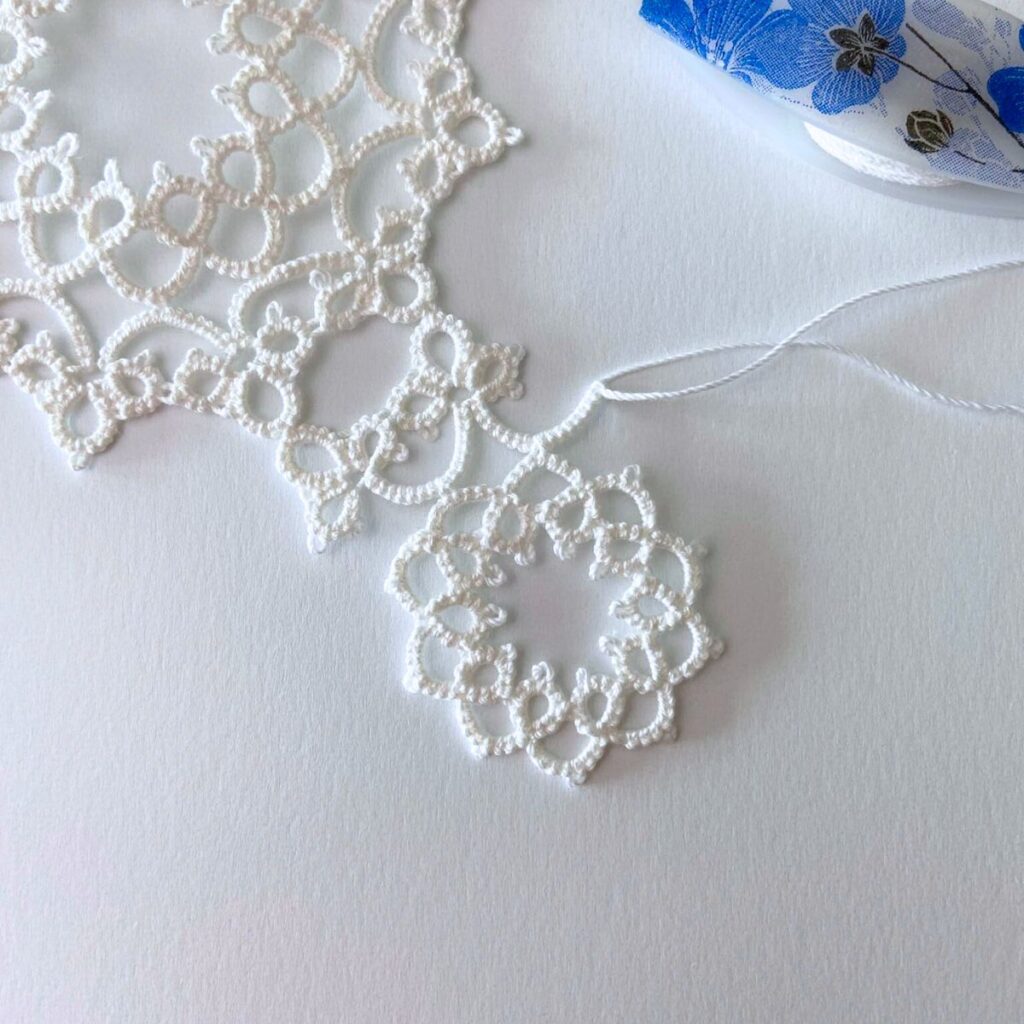
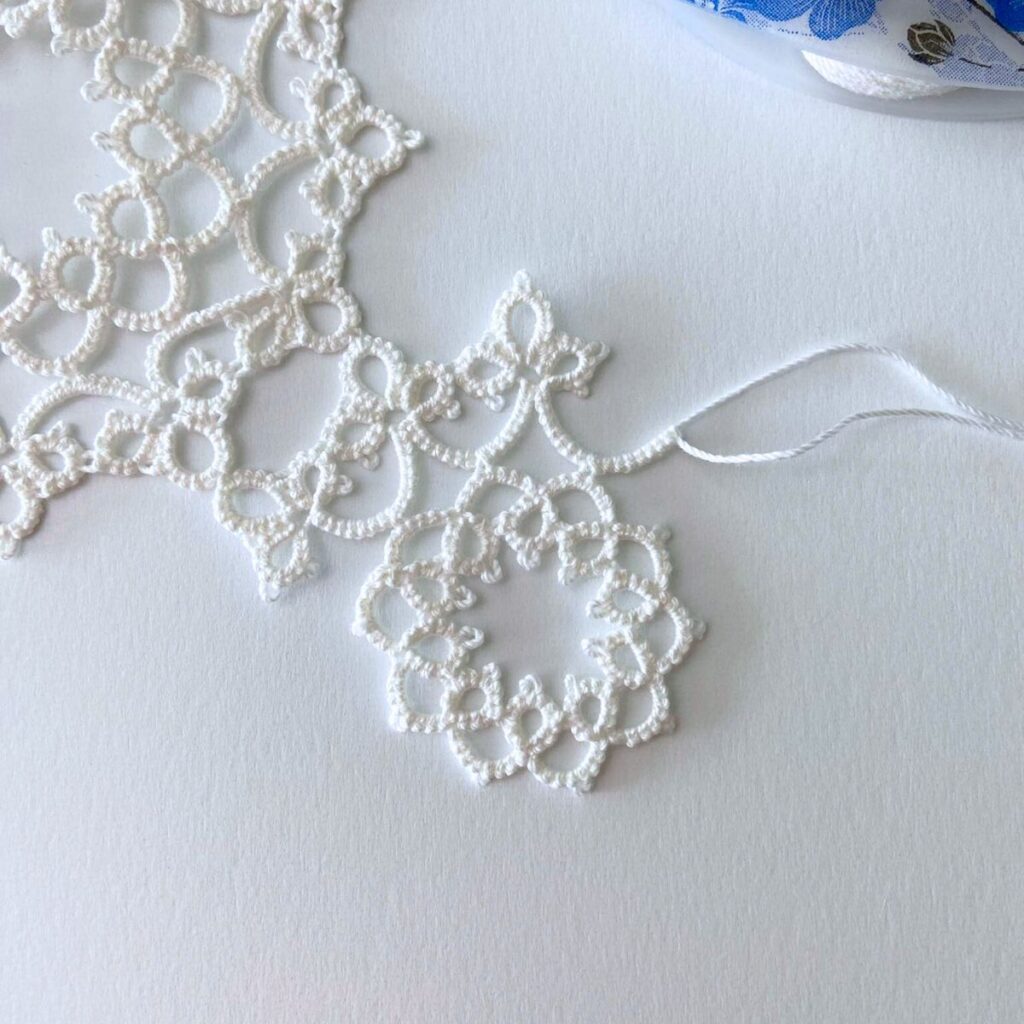
Now you have a finished snowman body.
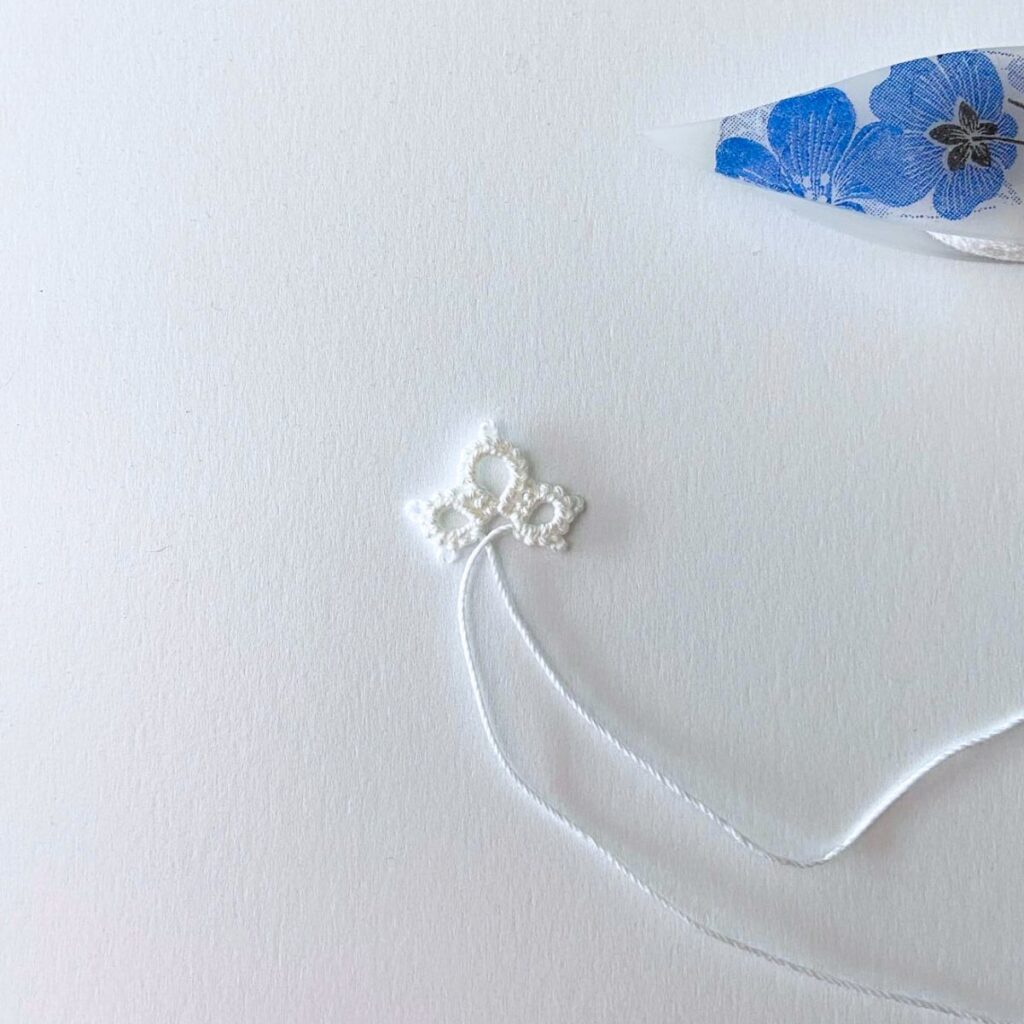
Head
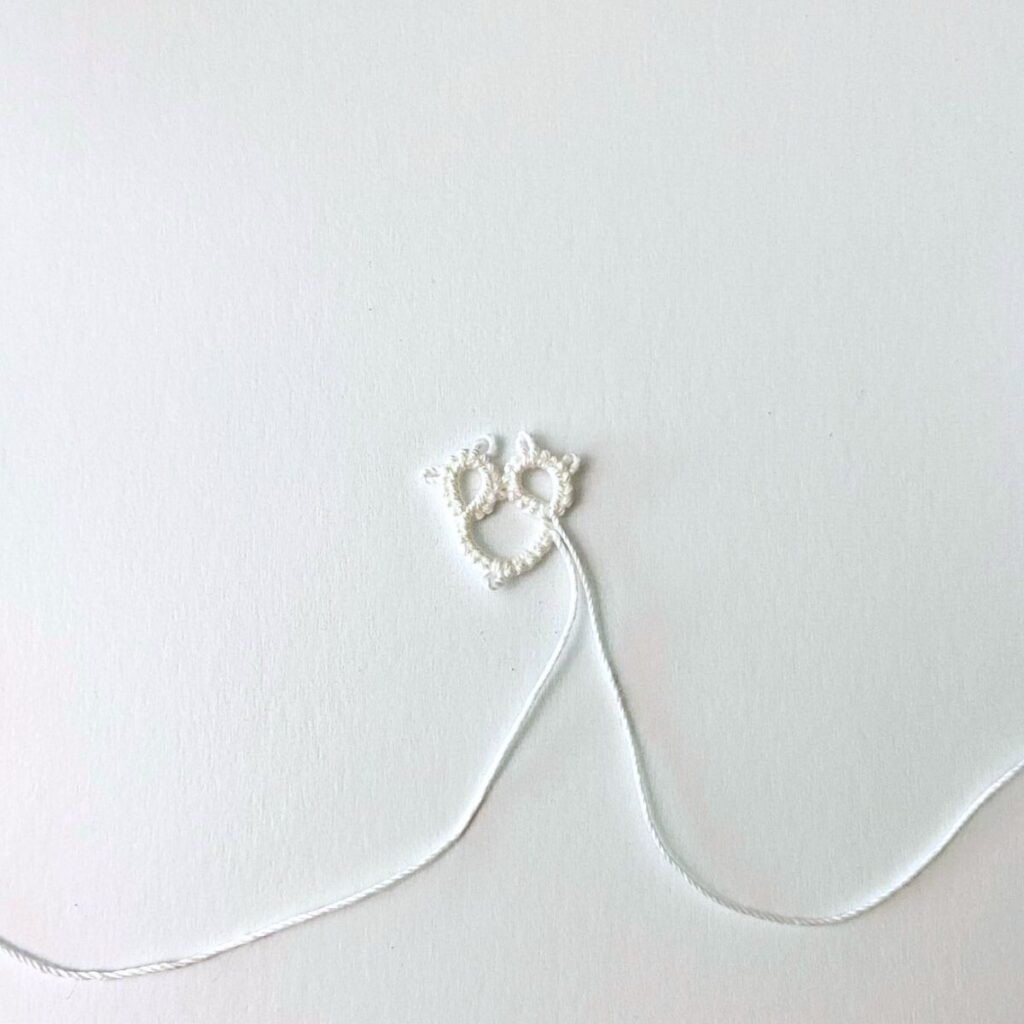
Round 1:
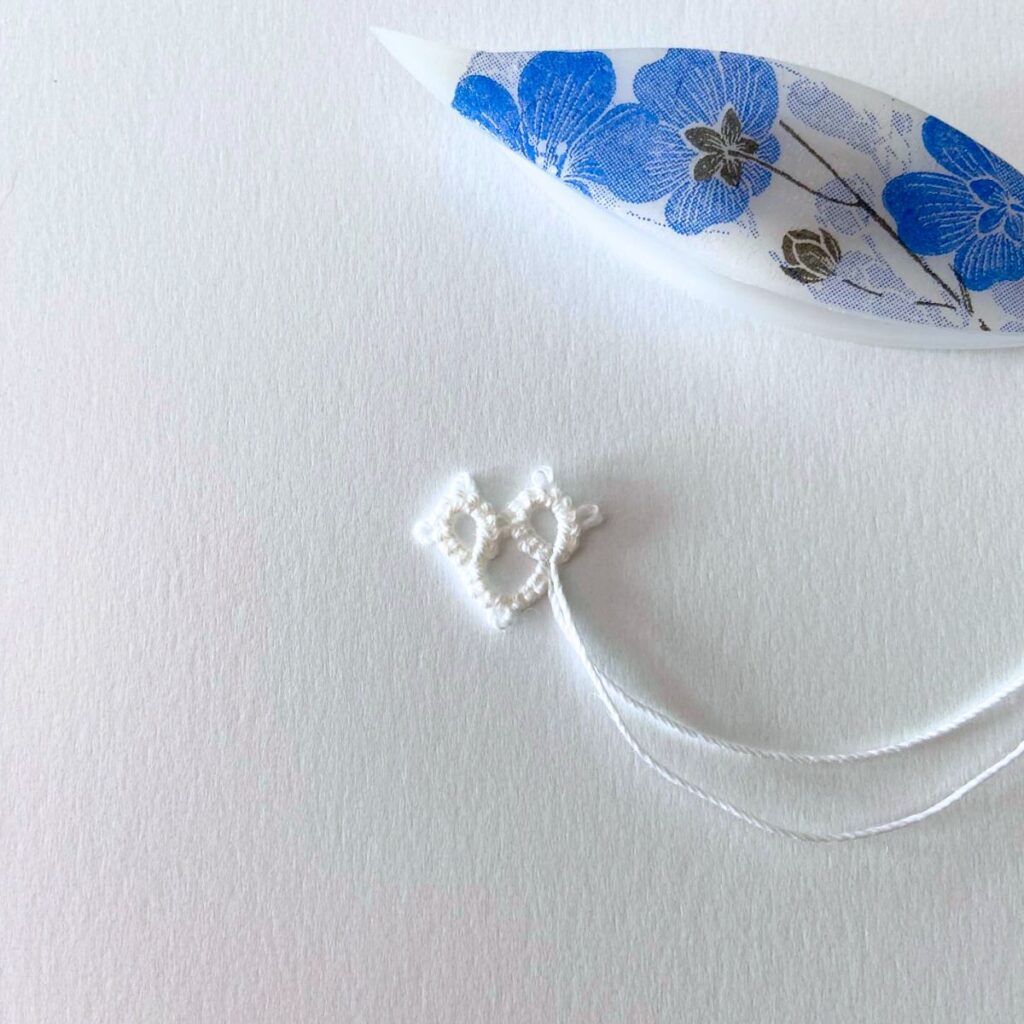
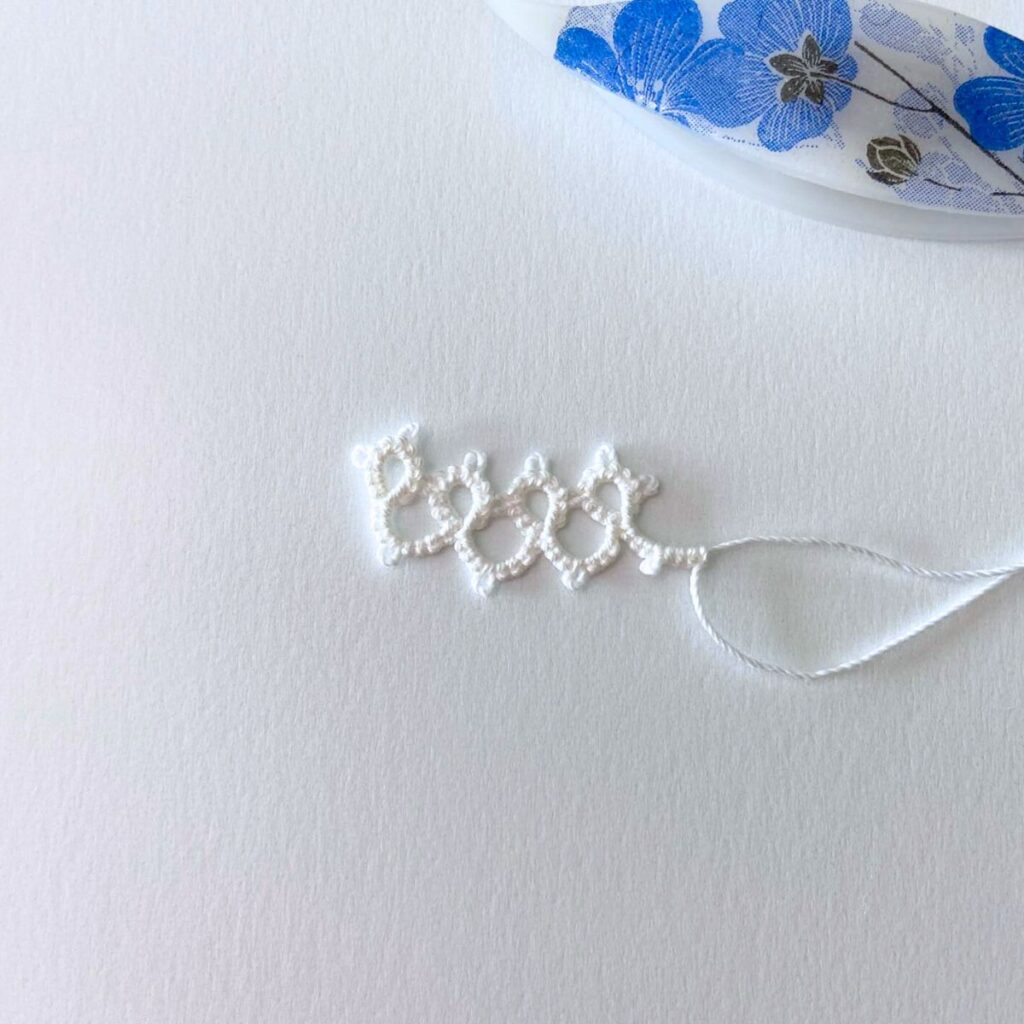
R: 3ds – 3ds – 3ds – 3ds close, turn.
Ch: 4ds – 4ds, turn.
R: 3ds + 3ds – 3ds – 3ds close, turn.
Ch: 4ds – 4ds, turn.
R; 3ds + 3ds – 3ds – 3ds close, turn.
Ch: 4ds – 4ds, turn.
*R: 3ds + 3ds – 3ds – 3ds close, turn.
Ch: 4ds – 4ds, turn.
Continue repeating the rings and chains until you have a circle of 10 rings and chains. Making sure to connect the final ring to the ring before and the first ring you made.

Connect the last chain to the base of the first ring. Cut and tie the threads and weave them in.
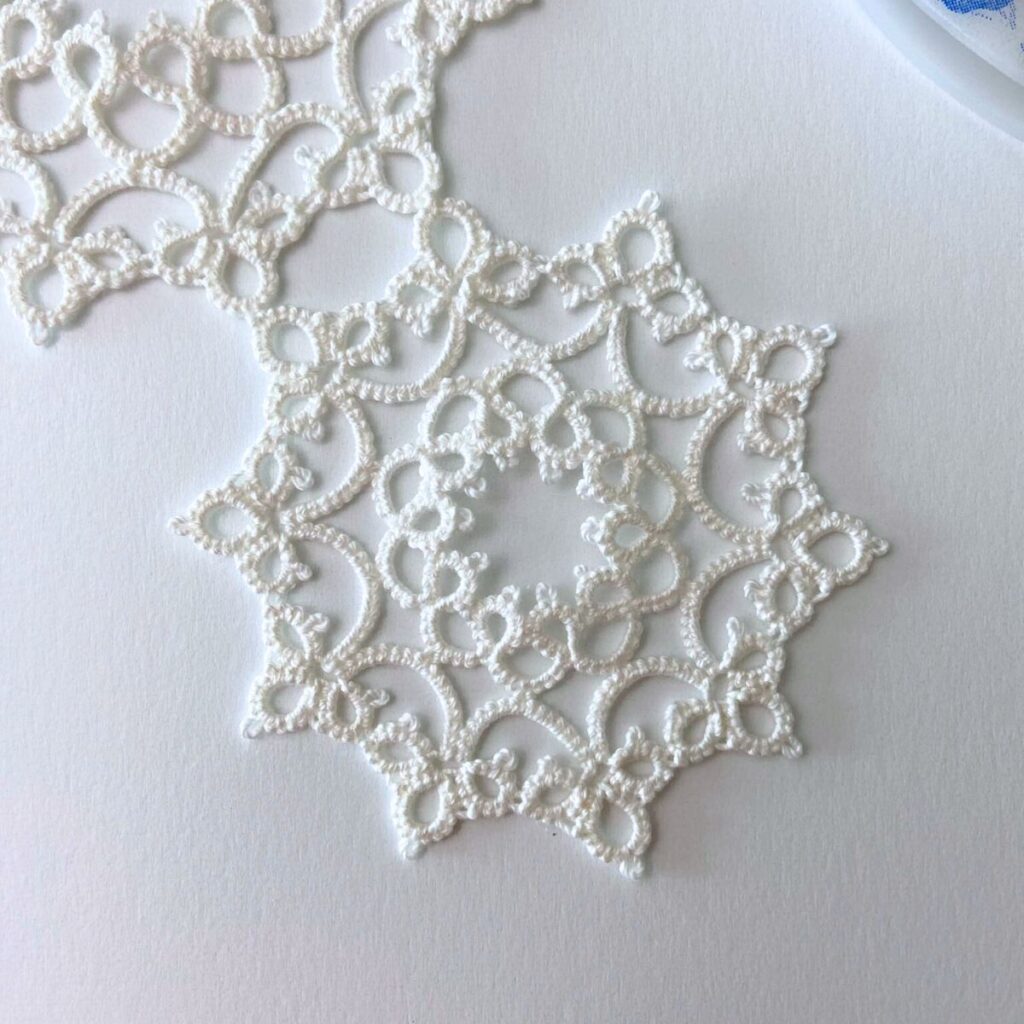
Round 2:
R: 3ds – 3ds – 3ds – 3ds close.
R: 3ds + 5ds join to the top picot on snowman’s body (See picture below), 5ds – 3ds close.
R: 3ds + 3ds – 3ds – 3ds close, turn.

Ch: 8ds join to the chain picot of round 1 of snowman’s head, 8ds, turn.
R: 3ds – 3ds join to the middle picot of the last ring 3ds – 3ds close.
R: 3ds + 5ds + 5ds – 3ds close.
R: 3ds + 3ds – 3ds – 3ds close, turn.
Ch: 8ds + 8ds, turn.
*R: 3ds – 3ds + 3ds – 3ds close.
R: 3ds + 5ds – 5ds – 3ds close.
R: 3ds + 3ds – 3ds – 3ds close, turn.
Ch: 8ds + 8ds, turn.
Repeat from the * until you have 10 groups of rings and 10 chains. Connecting the last ring to the first ring you made and connect the last chain to the first group of rings. Cut and tie the thread and weave in the threads.
Now you have a finished snowman and all that’s left is to make the hat.
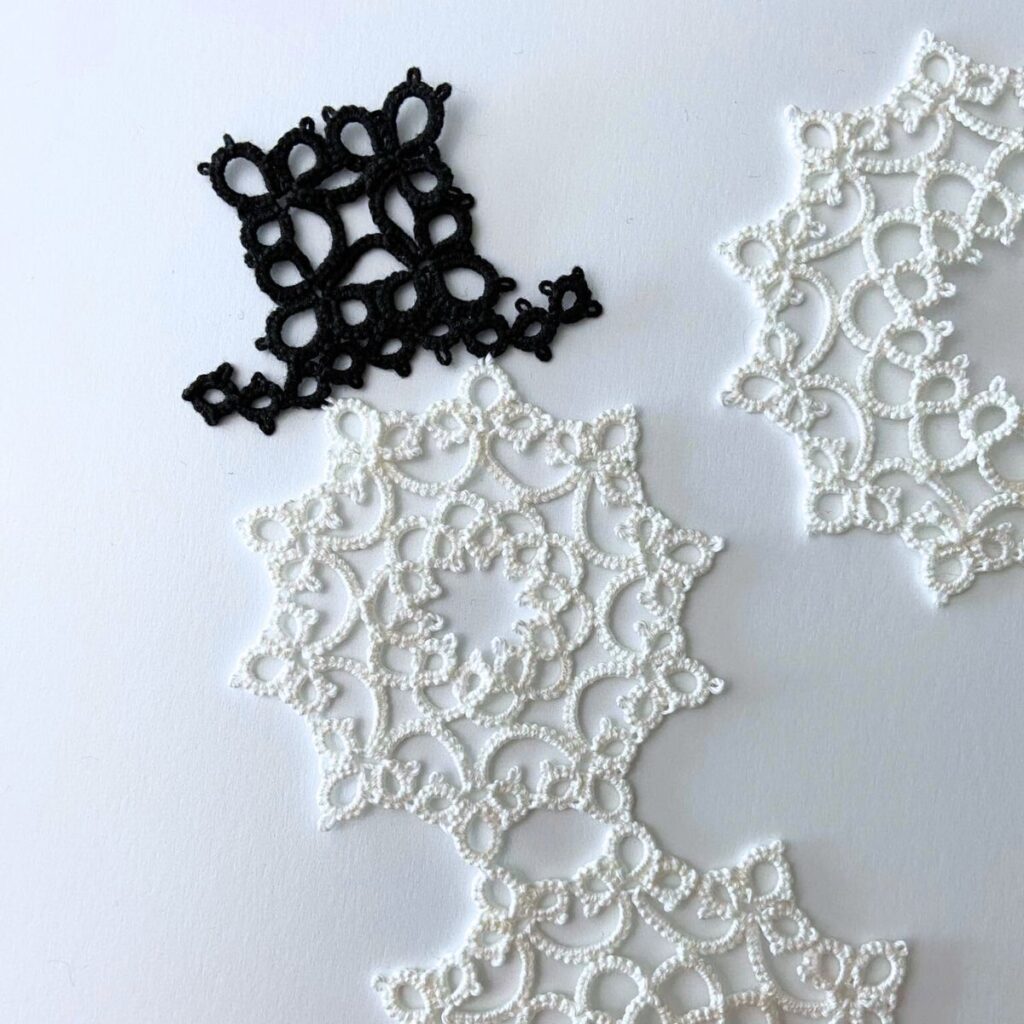
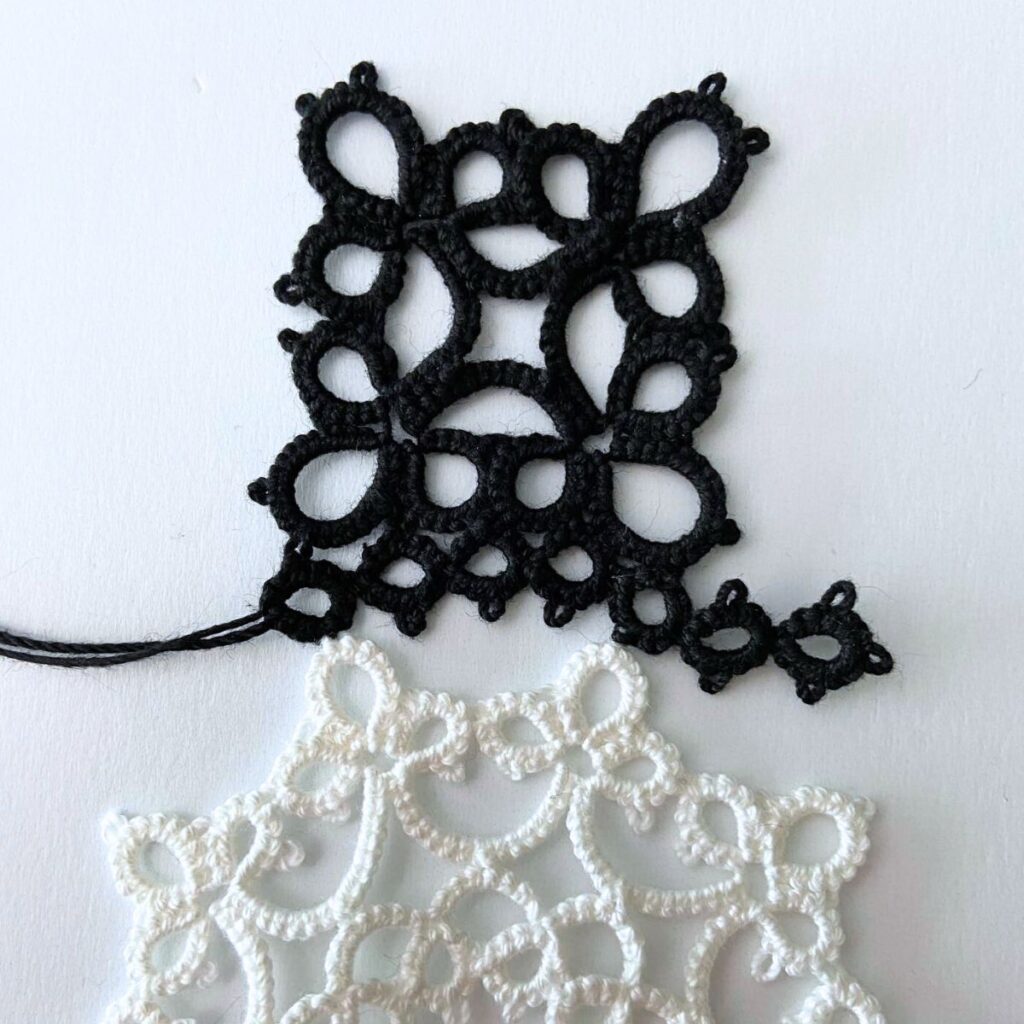
Top Hat
The first part you’ll make is the square crown of the hat.
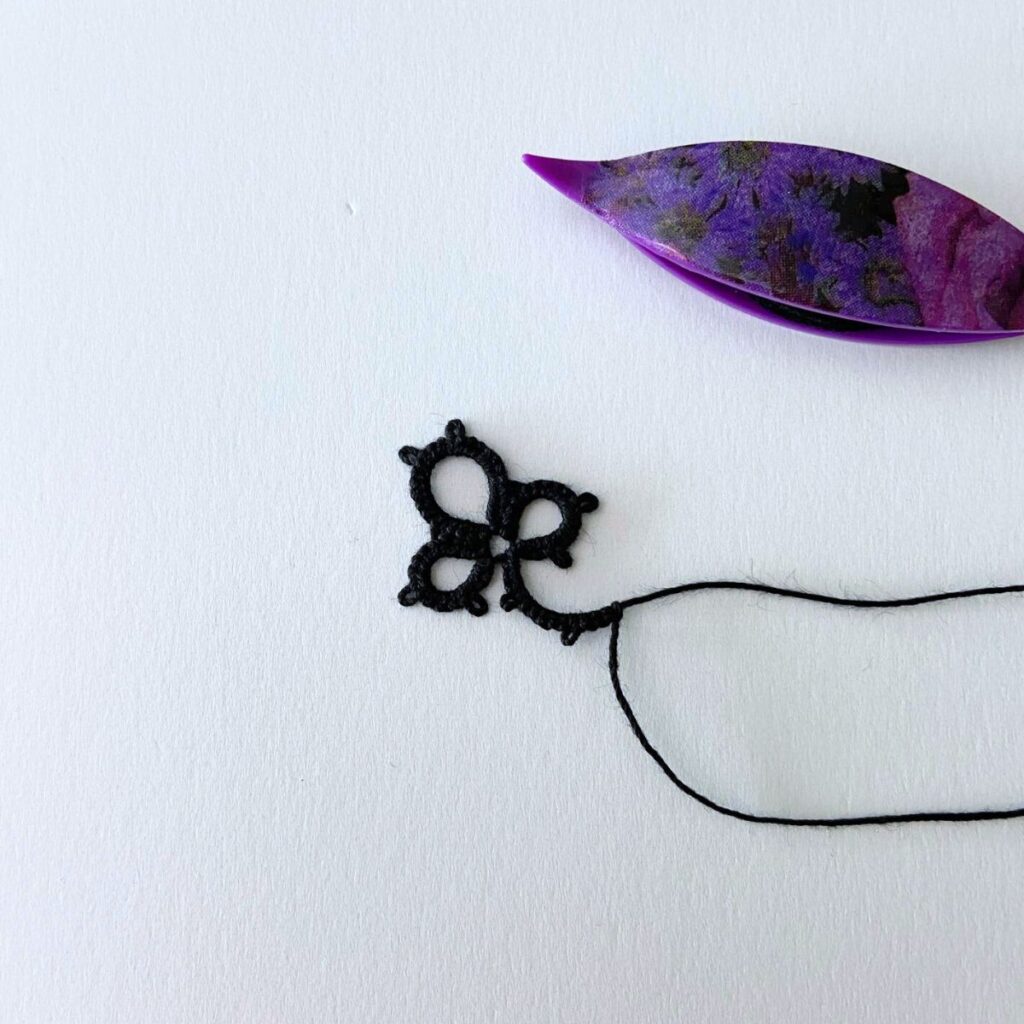
Wind a shuttle with your black crochet thread.
R: 4ds – 5ds – 5ds – 4ds close.
R: 4ds + 7ds – 4ds – 7ds – 4ds close.
R: 4ds + 5ds – 5ds – 4ds close, turn.
Ch: 4ds – 6ds – 4ds, turn.
R: 4ds + 5ds – 5ds – 4ds close.
R: 4ds + 7ds – 4ds – 7ds – 4ds close.
R: 4ds + 5ds – 5ds – 4ds close, turn.
Ch: 4ds + 6ds – 4ds, turn.

R: 4ds + 5ds – 5ds – 4ds close.
R: 4ds + 7ds – 4ds – 7ds – 4ds close.
R 4ds + 5ds – 5ds – 4ds close, turn.
Ch: 4ds + 6ds – 4ds, turn.

R: 4ds + 5ds – 5ds – 4ds close.
R: 4ds + 7ds – 4ds – 7ds – 4ds close.
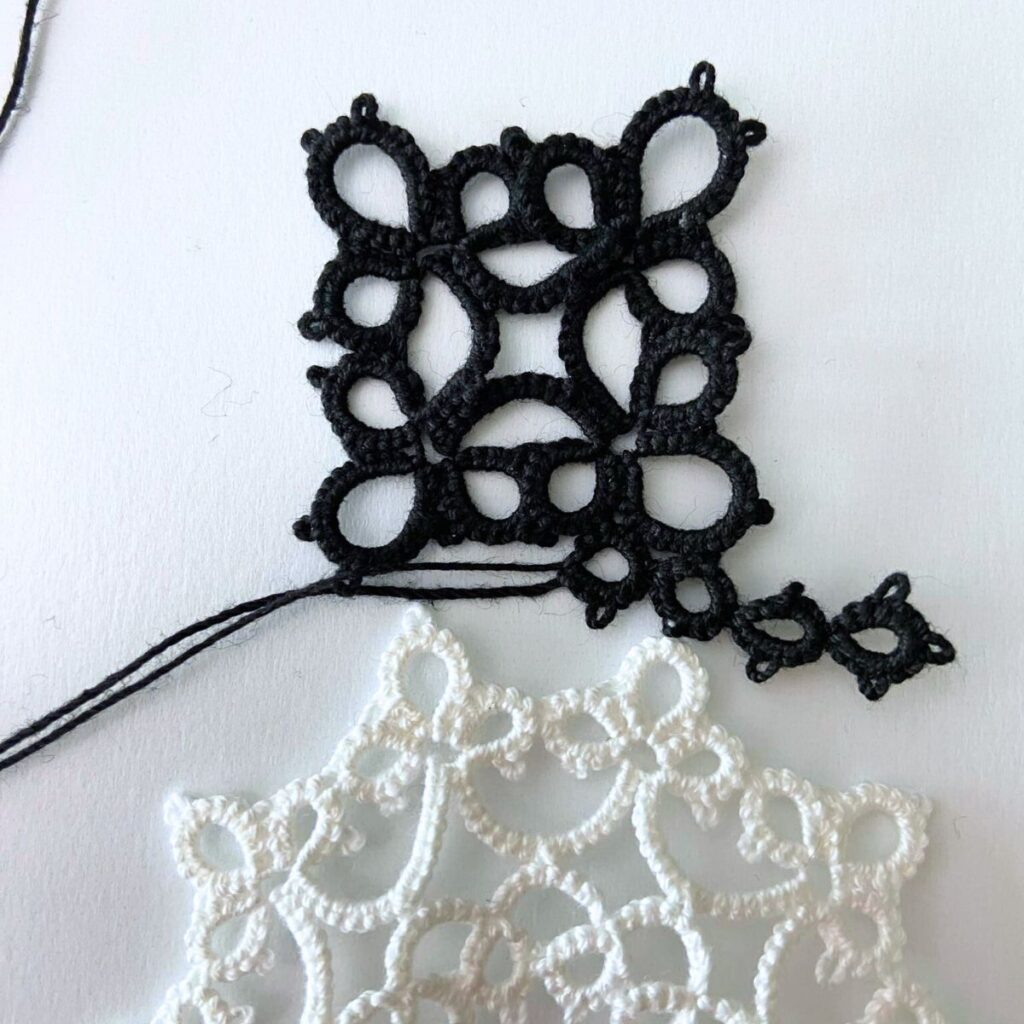
R: 4ds + 5ds – 5ds join to the first ring 4ds close, turn.
Ch: 4ds + 6ds join to the first chain, 4ds. Connect to the first group of rings.

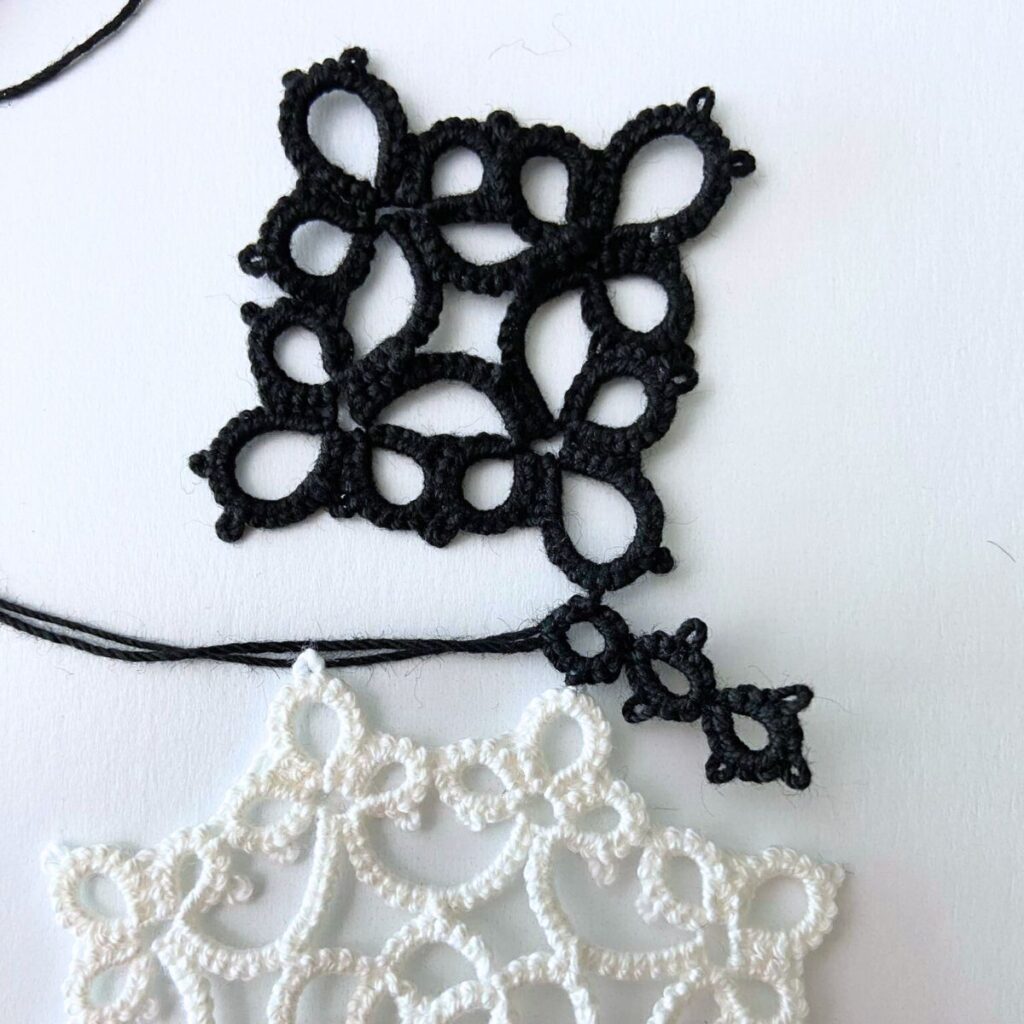
Now the crown of the hat is finished. All that’s left to to make the brim and attach it to the hat crown and the top of the snowman’s head.
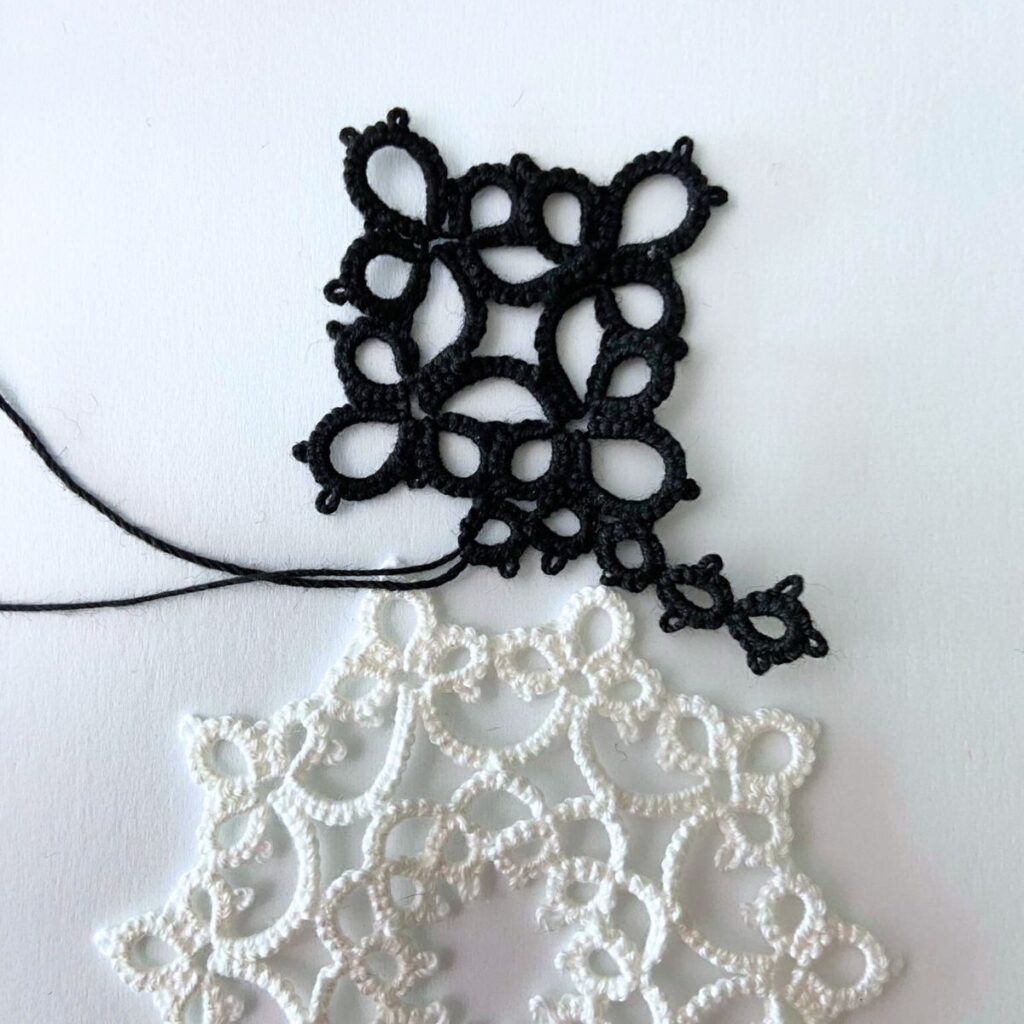
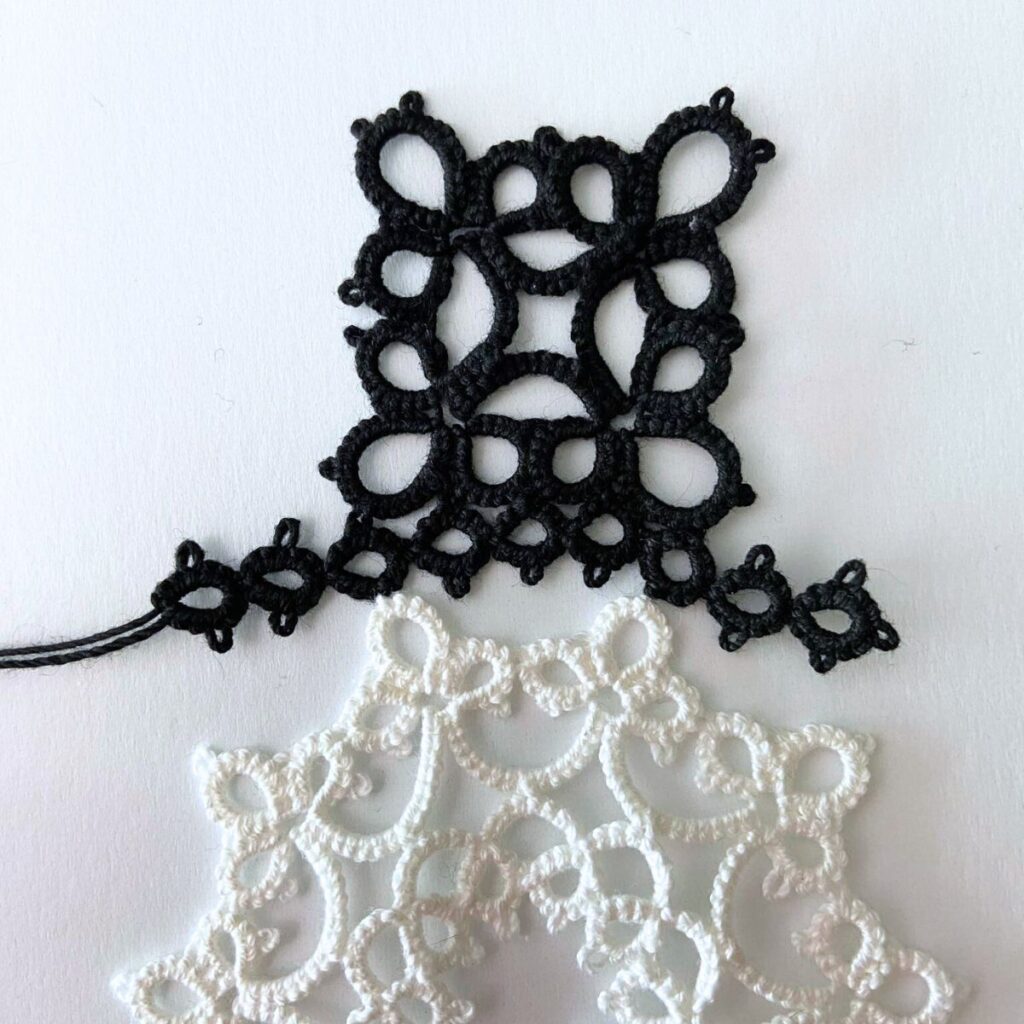
Brim
Wind 2 shuttles with black thread.
Split R: 3ds – 3ds, change shuttles, – 3ds – 3ds close.
Split R: 3ds – 3ds change shuttles 3ds – 3ds close.
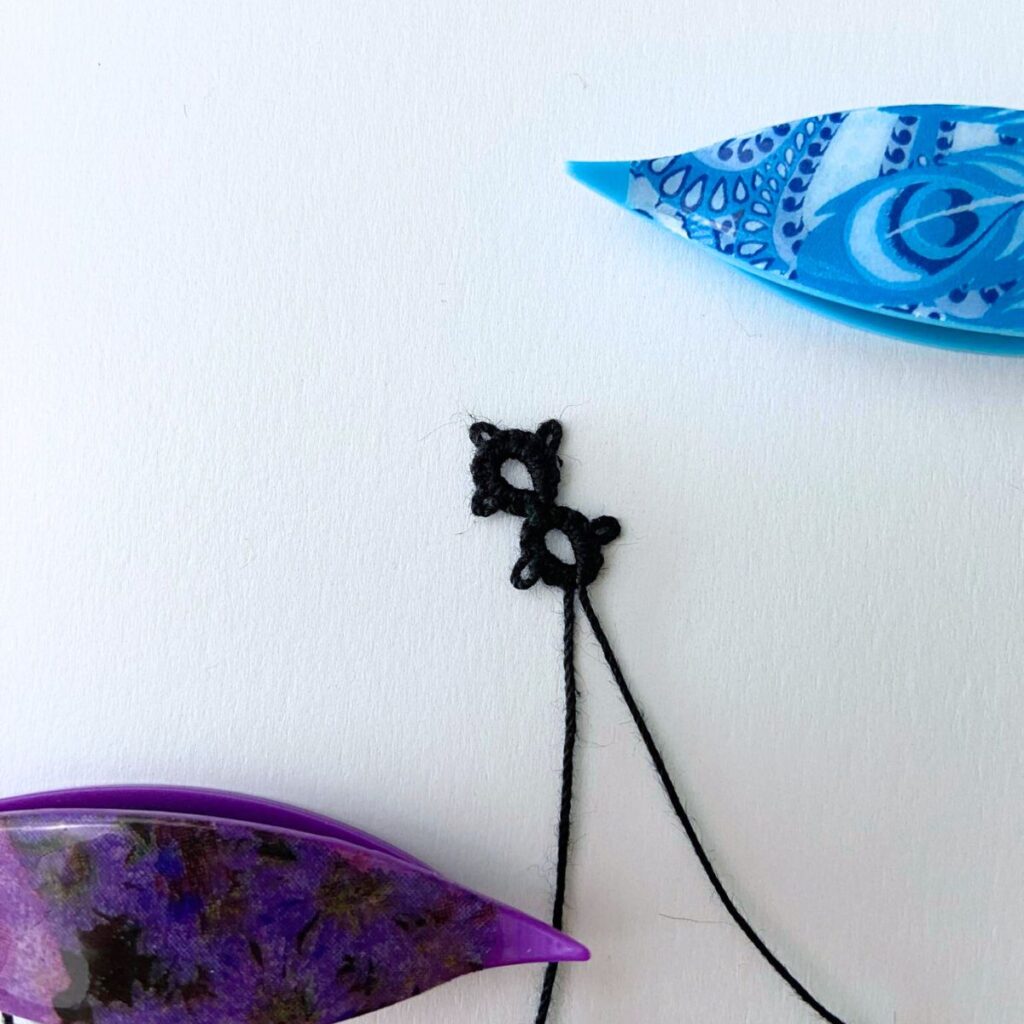
Split R: 3ds join to the side picot of the larger ring on the hat’s crown, 3ds, change shuttles, 3ds, join this side to the top ring picot of the snowman’s head, 3ds close.
Split R: 3ds join to the picot that connects the large and small ring of the crown, 3ds, change shuttles, 3ds – 3ds close.
Split R: 3ds join to the two picot of the smaller rings of the crown, 3ds change shuttles, 3ds – 3ds close.
Split R: 3ds join to the picot connecting the large and small rings of the crown, 3ds change shuttles 3ds – 3ds close.

Split R: 3ds join to the side picot of the large ring of the crown 3ds , change shuttles, 3ds join to the top picot on the group of rings on the snowman’s head, 3ds close.
Split R: 3ds – 3ds change shuttles 3ds – 3ds close.
Split R: 3ds – 3ds change shuttles 3ds – 3ds close. Cut and tie off the ends and weave them in.
Now you have a completely finished snowman. And I like to place the top hat straight on the top of his head. But, you could also place the hat on the snowman at an angle.
I hope that you enjoy making this free snowman tatting pattern. And this is a great winter tatting project. Thank you for reading this free snowman tatting pattern. And be sure to check back on my blog, because I will be making more patterns in the future.

Check out my other Free Tatting Patterns